“`html
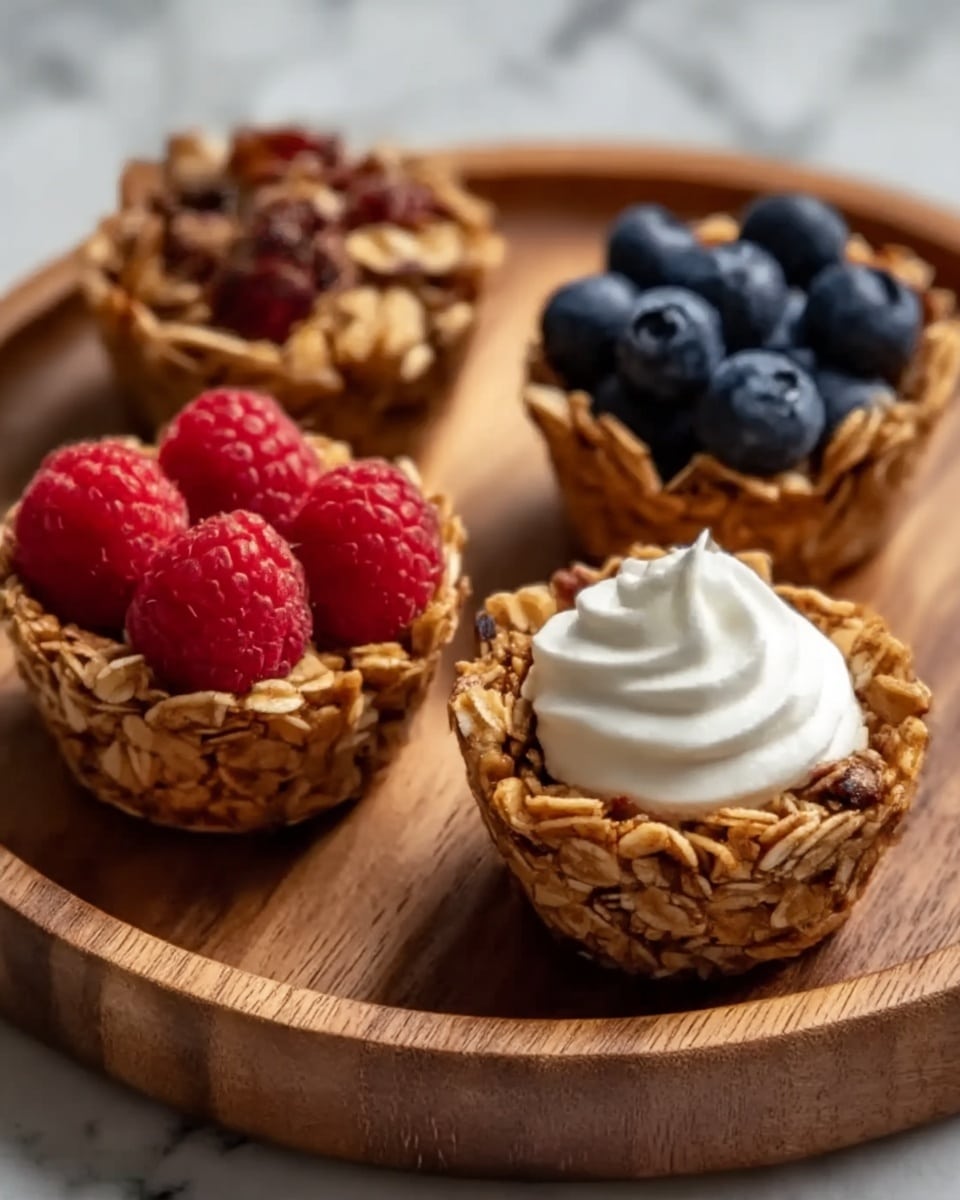
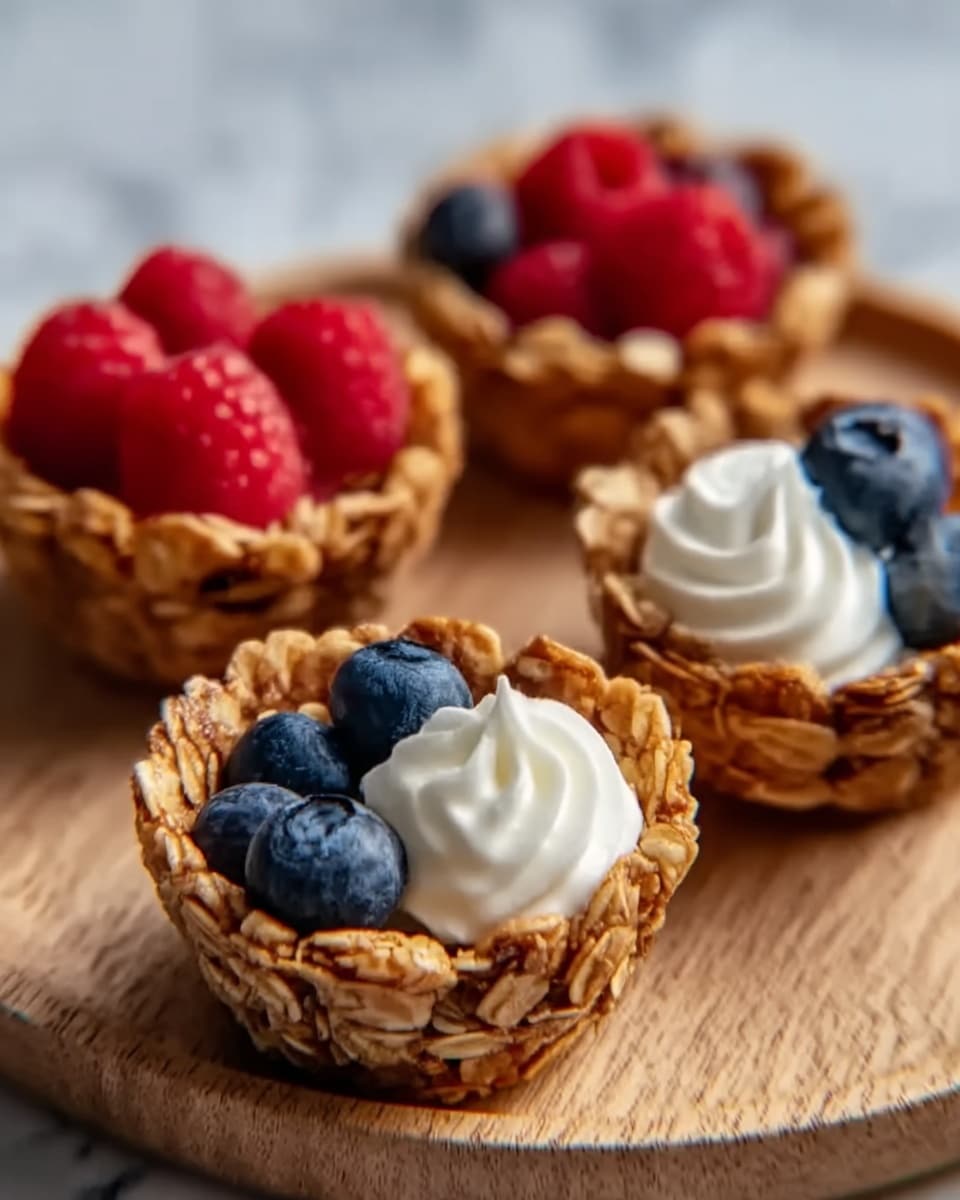
If you’re searching for a delightful treat that’s as nourishing as it is delicious, this Healthy Granola Cups with Yogurt and Berries Recipe is exactly what you need. Imagine crunchy, golden granola cups perfectly baked to hold creamy yogurt and bursting with fresh, juicy berries—a breakfast or snack that feels indulgent but packs a wholesome punch. Each bite brings together crunch, creaminess, and juicy sweetness, making it a favorite go-to for busy mornings or light afternoon pick-me-ups. Trust me, once you try these, you’ll wonder how you ever lived without them!
Ingredients You’ll Need
This recipe is beautifully simple and relies on straightforward ingredients that contribute incredible texture, flavor, and colors. Each component enhances the dish, whether it’s the crunch from nuts and seeds or the natural sweetness from maple syrup that binds everything together perfectly.
- 2 cups rolled oats: The crunchy base that creates those sturdy, crisp cups you’ll love.
- 1/2 cup chopped nuts (almonds, walnuts, or pecans): Adds rich texture and healthy fats for satisfying bites.
- 1/4 cup seeds (sunflower or pumpkin seeds): These little powerhouses contribute extra crunch and subtle nuttiness.
- 1/4 cup shredded coconut (unsweetened): Offers a delicate tropical twist and chewy contrast.
- 1/4 cup maple syrup or honey: Natural sweetness that acts as the perfect binder for the granola mix.
- 1/4 cup coconut oil, melted: Brings a lovely richness and helps the granola crisp up beautifully.
- 1/2 teaspoon vanilla extract: Infuses a subtle, warm aroma to the granola cups.
- Pinch of salt: Balances the flavors by enhancing the sweetness and depth.
- 1/4 teaspoon ground cinnamon (optional): Adds a cozy hint of spice if you’re feeling adventurous.
- Greek yogurt, dairy-free yogurt, or coconut yogurt: Creamy, tangy filling that pairs perfectly with the crunchy shell.
- Fresh berries (blueberries, strawberries, or raspberries): Bright, juicy pops of color and fresh flavor.
- Nut butter (peanut butter, almond butter): A luscious drizzle to elevate the richness and add a nutty depth.
- Drizzle of honey or maple syrup: For a finishing touch of extra sweetness if desired.
How to Make Healthy Granola Cups with Yogurt and Berries Recipe
Step 1: Prepare Your Oven and Muffin Tin
Begin by preheating your oven to 350°F (175°C). Line a muffin tin with paper liners or lightly grease the cups to make sure your granola cups release easily after baking without sticking.
Step 2: Mix Up the Dry Ingredients
In a large bowl, combine the rolled oats, chopped nuts, seeds, shredded coconut, cinnamon (if you’re using it), and a pinch of salt. This mixture forms the crunchy and flavorful backbone of your granola cups, so be sure everything is well blended for even texture.
Step 3: Whisk the Wet Ingredients
In a separate bowl, whisk together your choice of maple syrup or honey, melted coconut oil, and vanilla extract until the blend is smooth and glossy. This liquid mixture will bind the dry ingredients and infuse them with a gentle sweetness and rich aroma.
Step 4: Combine and Coat
Pour the wet mixture into the bowl with the dry ingredients. Stir thoroughly to ensure every bit of oats, nuts, and seeds is coated evenly. This ensures your granola cups will hold together once baked and develop that perfect crispness.
Step 5: Shape Your Granola Cups
Spoon the granola mixture into each muffin cup, pressing firmly into the bottom and up the sides to create a ‘bowl’ shape. It’s key to pack the mixture tightly so the cups will hold their shape after baking. Trust me, this step makes all the difference!
Step 6: Bake Until Golden
Bake your granola cups in the preheated oven for about 10-12 minutes. Keep a close eye to avoid burning—the cups should turn a lovely golden brown and feel crisp to the touch. The aroma filling your kitchen at this stage is irresistible!
Step 7: Cool Completely Before Removing
Once baked, allow the granola cups to cool entirely in the muffin tin so they set up properly. This cooling process is essential so your cups won’t crumble when you take them out to fill.
Step 8: Fill and Serve
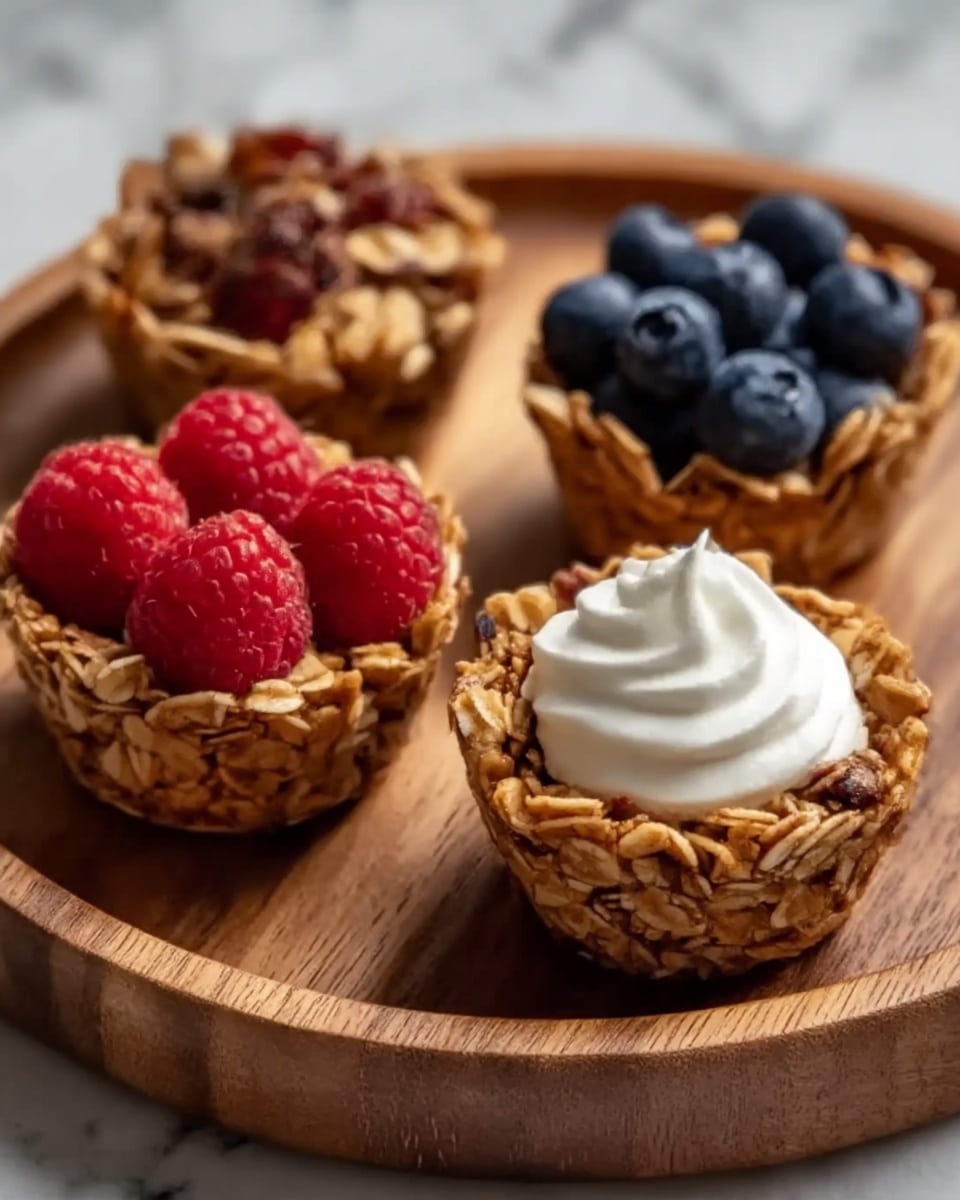
Gently pop out the cooled granola cups. Fill each with a scoop of your preferred yogurt and crown with fresh berries. Add a drizzle of nut butter or honey if you want an extra layer of indulgence. You’ve just made a beautiful, healthy treat that’s ready to enjoy!
How to Serve Healthy Granola Cups with Yogurt and Berries Recipe
Garnishes
Sprinkling a little extra crunchy seed mix on top or a dusting of cinnamon can elevate your granola cups instantly. Fresh mint leaves or finely grated lemon zest add a refreshing touch and visual appeal without any fuss.
Side Dishes
Pairing these granola cups with a side of chilled fruit salad or a simple glass of freshly squeezed juice complements the naturally sweet and creamy flavors, rounding out a perfectly balanced meal or snack.
Creative Ways to Present
For a charming brunch table, arrange granola cups on a wooden board alongside small bowls of assorted nuts, different berry varieties, and a few dollops of nut butter. Serving them in mason jars layered with yogurt and berries is also a fun and convenient option for picnics or on-the-go breakfasts.
Make Ahead and Storage
Storing Leftovers
If you have any leftover granola cups, store them in an airtight container at room temperature to maintain crispness for up to 5 days. Avoid filling them with yogurt until ready to serve to keep the cups crunchy longer.
Freezing
You can freeze unfilled granola cups by placing them in a freezer-safe container with parchment paper in between layers. When you want a quick snack, thaw at room temperature, then fill them fresh with yogurt and berries for best texture.
Reheating
If you prefer your granola cups a little warm, a quick 3-5 second zap in the microwave softens them slightly without losing that delightful crunch. Just avoid reheating when filled with yogurt, as it’s best enjoyed chilled.
FAQs
Can I use different types of nuts and seeds for this recipe?
Absolutely! The Healthy Granola Cups with Yogurt and Berries Recipe is very flexible. Feel free to customize with your favorite nuts or seeds, like pecans, cashews, chia seeds, or flaxseeds, to match your taste and texture preferences.
Is it possible to make these granola cups vegan?
Yes! Use maple syrup instead of honey and choose a plant-based yogurt like coconut or almond yogurt. This keeps the recipe vegan-friendly without sacrificing any delicious flavor or texture.
How long do the granola cups stay crispy after adding yogurt?
Once the yogurt is added, the granola cups begin to soften. To enjoy that perfect crunch, it’s best to fill them right before serving. If you want to prepare ahead, keep cups and yogurt separate until mealtime.
Can I make this recipe gluten-free?
Definitely! Just use certified gluten-free rolled oats and ensure any additional ingredients like baking supplies or nut butters are gluten-free certified to keep your granola cups safe and delicious.
Are these granola cups suitable for meal prep?
They are perfect for meal prep! Make a batch of granola cups ahead of time, store them in an airtight container, and add yogurt and fresh berries each morning for a quick, nutritious start to your day without any hassle.
Final Thoughts
This Healthy Granola Cups with Yogurt and Berries Recipe becomes a staple in my kitchen because it’s easy, wholesome, and always impresses. It’s a fantastic way to enjoy nature’s goodness wrapped in crunchy, sweet cups that invite endless creativity in fillings and toppings. I wholeheartedly encourage you to give these granola cups a try—you’ll find they quickly become your favorite nourishing treat for any time of day.
“`
Print
Healthy Granola Cups with Yogurt and Berries Recipe
- Prep Time: 10 minutes
- Cook Time: 12 minutes
- Total Time: 22 minutes
- Yield: 12 servings
- Category: Snack
- Method: Baking
- Cuisine: American
- Diet: Vegetarian
Description
Crunchy and delicious homemade granola cups baked to golden perfection, perfect for filling with your favorite yogurt, fresh berries, and nut butter. A versatile and nutritious snack or breakfast treat that’s easy to make and customizable to your taste.
Ingredients
Granola Cups
- 2 cups rolled oats
- 1/2 cup nuts (almonds, walnuts, or pecans), chopped
- 1/4 cup seeds (sunflower or pumpkin seeds)
- 1/4 cup shredded coconut (unsweetened)
- 1/4 cup maple syrup or honey
- 1/4 cup coconut oil, melted
- 1/2 teaspoon vanilla extract
- Pinch of salt
- 1/4 teaspoon ground cinnamon (optional)
Fillings
- Greek yogurt, dairy-free yogurt, or coconut yogurt
- Fresh berries (blueberries, strawberries, or raspberries)
- Nut butter (peanut butter, almond butter)
- Drizzle of honey or maple syrup
Instructions
- Prepare the Granola Mixture: Preheat your oven to 350°F (175°C) and line a muffin tin with paper liners or lightly grease the cups to prevent sticking.
- Combine Dry Ingredients: In a large mixing bowl, combine the rolled oats, chopped nuts, seeds, shredded coconut, cinnamon (if using), and a pinch of salt, ensuring even distribution.
- Mix Wet Ingredients: In a separate bowl, whisk together the maple syrup (or honey), melted coconut oil, and vanilla extract until smooth and well blended.
- Combine Wet and Dry: Pour the wet ingredients into the dry ingredients and stir thoroughly until the mixture is evenly coated with the syrup and oil blend.
- Shape Granola Cups: Spoon the granola mixture into each muffin cup, pressing it firmly onto the bottom and up the sides to form a bowl shape, packing it tightly to help the cups hold together.
- Bake Granola Cups: Bake in the preheated oven for 10-12 minutes, or until the granola turns golden brown and crisp. Monitor closely to prevent burning.
- Cool Completely: Remove the granola cups from the oven and allow them to cool fully inside the muffin tin to set and harden.
- Remove from Tin: Gently lift the cooled granola cups from the muffin tin, being careful not to break them.
- Fill Granola Cups: Fill each granola cup with your choice of filling such as a scoop of yogurt, fresh berries, a drizzle of nut butter, or honey/maple syrup to enhance flavor and texture.
- Serve or Store: Serve the granola cups immediately for maximum freshness or store them in an airtight container for up to 5 days. Refrigerate if filled with yogurt to maintain freshness longer.
Notes
- You can customize the nuts and seeds based on your preferences or what you have available.
- For a vegan-friendly version, use maple syrup and coconut or dairy-free yogurt.
- Pressing the mixture firmly into the muffin tins helps the cups hold their shape after baking.
- Store granola cups without filling at room temperature in an airtight container for best crispness.
- If using fresh yogurt as filling, consume within 2-3 days when refrigerated to prevent sogginess.
- Adding cinnamon is optional but gives a nice warm flavor to the granola.

