

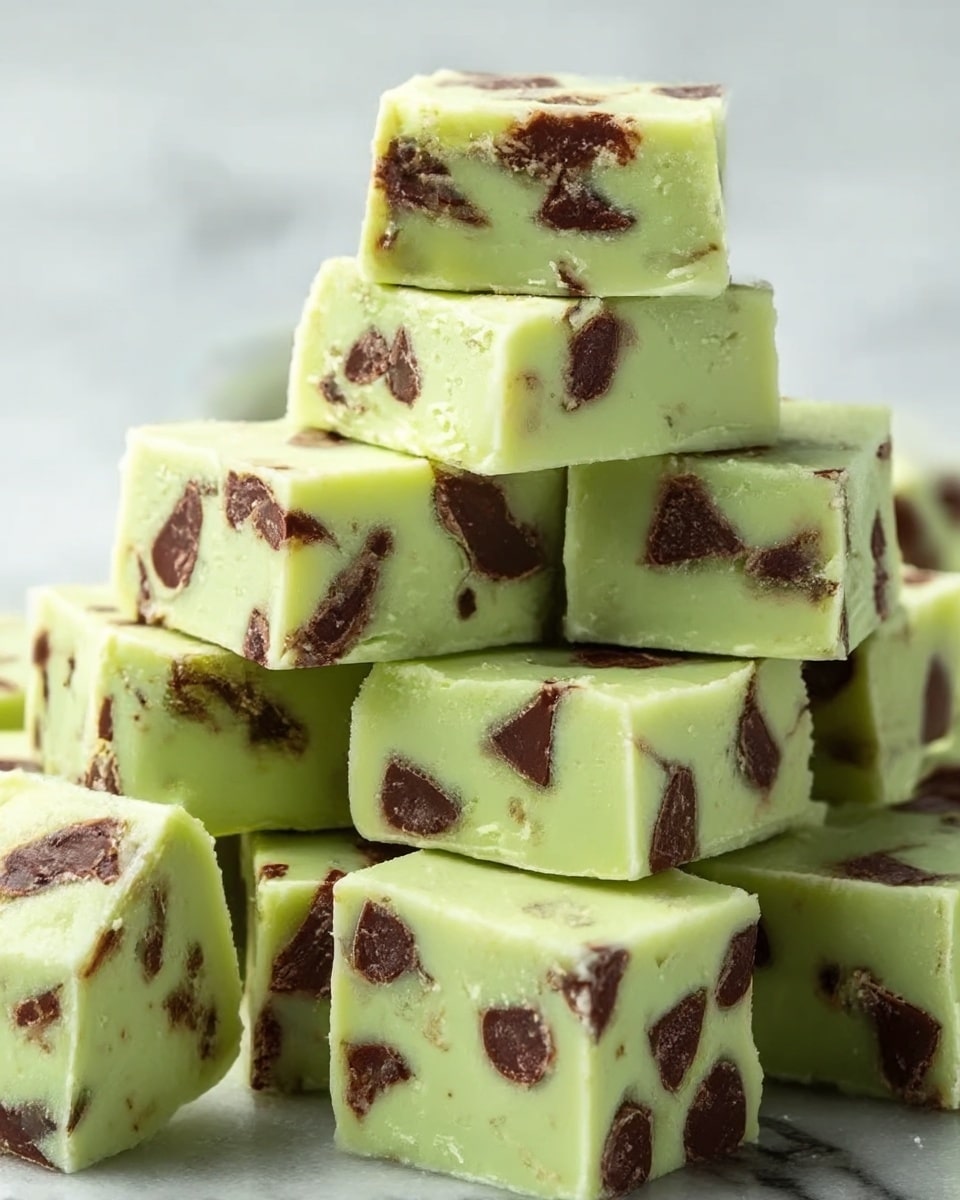
If you’re a fan of that refreshing burst of mint paired with creamy, dreamy sweetness, then you are absolutely going to adore this Mint Fudge Recipe. It’s a luscious treat that combines rich white chocolate with a cool peppermint twist, creating a fudge that’s both festive and comforting. Perfectly smooth, speckled with mini chocolate chips, and hinting at subtle green hues if you choose, this fudge is a show-stopper for holidays, parties, or simply whenever your sweet tooth calls. Making this mint fudge is surprisingly simple, and the results are irresistibly delicious—a true keeper for your dessert repertoire.

Ingredients You’ll Need
Nothing complicated here—just a handful of key ingredients that come together effortlessly to create that smooth, minty magic. Each component plays a vital role, from the creamy white chocolate base to the refreshing peppermint extract that elevates every bite.
- White chocolate chips: The rich and creamy foundation that melts down to give your fudge that silky texture.
- Sweetened condensed milk: Adds sweetness and moisture, ensuring your fudge sets perfectly without being crumbly.
- Peppermint extract: Infuses the fudge with that unmistakable refreshing mint flavor—your main flavor star.
- Vanilla extract: Enhances the depth of flavor and balances the intensity of peppermint for a smooth taste.
- Green food coloring (optional): A fun touch that gives your fudge a festive, inviting look but doesn’t affect the flavor.
- Mini semi-sweet chocolate chips: Adds delightful texture and pops of chocolate contrast throughout the fudge.
How to Make Mint Fudge Recipe
Step 1: Prepare the Pan
Start by lining your loaf or 8×8-inch square pan with parchment or wax paper, making sure to leave an overhang on the sides. This little trick makes lifting the fudge out after it sets a breeze, so you won’t have to struggle removing sticky edges or risking breakage.
Step 2: Melt the Base
In a microwave-safe bowl, combine your white chocolate chips and sweetened condensed milk. Heat them in 30-second bursts, stirring well after each, until you’re left with a silky smooth mixture. This gentle melting process prevents scorching and ensures the white chocolate blends evenly, making a perfect creamy base for your mint fudge recipe.
Step 3: Add Flavor and Color
Next, stir in your peppermint extract along with vanilla extract. If you want your fudge to have a festive pop of color, add a few drops of green food coloring to the mixture. This step is where that signature mint flavor really starts to shine, so don’t be shy with the peppermint—it’s the heart and soul of your mint fudge recipe.
Step 4: Mix in Chocolate Chips
Fold in the mini semi-sweet chocolate chips gently but thoroughly, ensuring those little bursts of chocolate are evenly scattered throughout. These chips give your fudge wonderful texture contrast and make each bite an exciting mix of creamy and chocolatey goodness.
Step 5: Transfer and Set
Pour the luscious mixture into your prepared pan and spread it out evenly for a nice, uniform thickness. Then pop it into the refrigerator for at least 2 hours to set properly. This chill time is essential to achieve that perfect fudge consistency—firm yet soft enough to melt in your mouth.
Step 6: Slice and Serve
Once your mint fudge is fully set and firm, use the parchment overhang to lift it right out of the pan. Slice it into neat squares and get ready to enjoy the creamy, minty delight that you just made. These squares are perfect for sharing or savoring one by one for a little indulgence.
How to Serve Mint Fudge Recipe
Garnishes
Consider topping your fudge squares with a sprinkle of crushed candy canes, a dusting of cocoa powder, or even a few fresh mint leaves for a touch of elegance and extra minty flair. Garnishes not only make your fudge look prettier but add delightful layers of texture and flavor.
Side Dishes
Mint fudge pairs beautifully with a hot cup of coffee, spiced chai, or even a glass of creamy milk. For a festive occasion, serve it alongside other peppermint treats like peppermints or chocolate bark to create a themed dessert platter that’s sure to impress.
Creative Ways to Present
Try arranging your fudge squares in a decorative tin or in little cupcake wrappers for a charming party treat. You can also layer them between wax paper in a beautiful box if you want to gift your mint fudge recipe creation—it’s a personal, tasty gift everyone will love.
Make Ahead and Storage
Storing Leftovers
Wrap leftover fudge airtight and store it in the refrigerator where it will stay fresh for up to two weeks. Proper wrapping keeps it from absorbing any fridge odors and preserves that creamy texture you worked so hard to achieve.
Freezing
If you want to keep your fudge longer, freezing is an excellent option. Wrap pieces individually in plastic wrap, then place them in a freezer-safe bag or container. Frozen fudge retains its texture well and can last up to three months—just thaw in the fridge before serving.
Reheating
Mint fudge is best enjoyed chilled or at room temperature, so reheating isn’t typically necessary or recommended. If it becomes too firm from refrigeration or freezing, simply let it sit at room temperature for 15-20 minutes to soften before serving.
FAQs
Can I use regular chocolate instead of white chocolate chips?
While white chocolate gives this Mint Fudge Recipe its classic creamy look and flavor, you could experiment with regular milk or dark chocolate for a different taste. Keep in mind, it will change the texture and sweetness, so adjust accordingly.
Is there a substitute for peppermint extract?
If peppermint extract isn’t available, spearmint extract can work as a milder alternative, or you can infuse the fudge with fresh mint leaves during the melting process for a natural twist—just strain them out before setting.
Why add green food coloring?
The green food coloring is purely optional and used to give your fudge that iconic minty green hue many love. It doesn’t impact flavor, so feel free to skip it if you prefer a white fudge or want a more natural look.
Can I make this fudge nut-free?
Absolutely! This Mint Fudge Recipe is naturally nut-free as written, making it a safe and delicious treat for those with nut allergies.
How long does the fudge take to set?
Refrigeration for at least 2 hours is recommended to allow the fudge to firm up properly. For best results, giving it a bit of extra time won’t hurt if you want clean, easy-to-cut squares.
Final Thoughts
I hope you’re feeling inspired to dive into this Mint Fudge Recipe and make it your own. It’s one of those sweet treats that feels special but comes together so simply that it instantly becomes a favorite. Whether you’re making it for yourself, family, or friends, this fudge brings a burst of minty joy with every bite. So grab your ingredients, turn on some good music, and treat yourself to a little homemade indulgence—you deserve it!
Print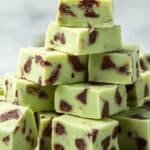
Mint Fudge Recipe
- Prep Time: 15 minutes
- Cook Time: 10 minutes (including melting and mixing)
- Total Time: 2 hours 25 minutes
- Yield: 24 servings
- Category: Dessert
- Method: No-Cook
- Cuisine: American
Description
This Mint Fudge recipe is a creamy, delightful treat combining the sweetness of white chocolate with refreshing peppermint flavor. Perfect for holiday gatherings or anytime you crave a smooth, melt-in-your-mouth fudge with a hint of mint and festive green color. The fudge is easy to make with simple ingredients and sets up in the refrigerator for a no-bake, satisfying dessert.
Ingredients
Fudge Base
- 2 ½ cups white chocolate chips
- 1 (14 oz) can sweetened condensed milk
- 1 tsp peppermint extract (or mint extract)
- ½ tsp vanilla extract
- Green food coloring (optional)
Mix-ins
- ½ cup mini semi-sweet chocolate chips
Instructions
- Prepare the Pan: Line a loaf pan or an 8×8-inch square pan with parchment or wax paper, leaving an overhang for easy removal of the fudge later.
- Melt the Base: In a microwave-safe bowl, combine the white chocolate chips and sweetened condensed milk. Microwave in 30-second intervals, stirring thoroughly after each interval until the mixture is completely smooth and melted without any lumps.
- Add Flavor and Color: Stir in the peppermint extract, vanilla extract, and green food coloring (if using) until the mixture is evenly colored and the flavors are fully incorporated.
- Mix in Chocolate Chips: Gently fold in the mini semi-sweet chocolate chips to evenly distribute them throughout the fudge base without melting them.
- Transfer and Set: Pour the fudge mixture into the prepared pan, spreading it out evenly. Place the pan in the refrigerator and chill for at least 2 hours or until the fudge is firm and set.
- Slice and Serve: Once the fudge is fully set, lift it out of the pan using the parchment or wax paper overhang. Cut into small squares and serve immediately or store in an airtight container.
Notes
- Use green food coloring sparingly to achieve a festive light green color.
- Be careful not to overheat the white chocolate in the microwave to prevent scorching.
- For a stronger mint flavor, adjust peppermint extract quantity to your preference.
- Store fudge in an airtight container in the refrigerator for up to 1 week.
- Allow fudge to come to room temperature for a few minutes before serving for a softer texture.


