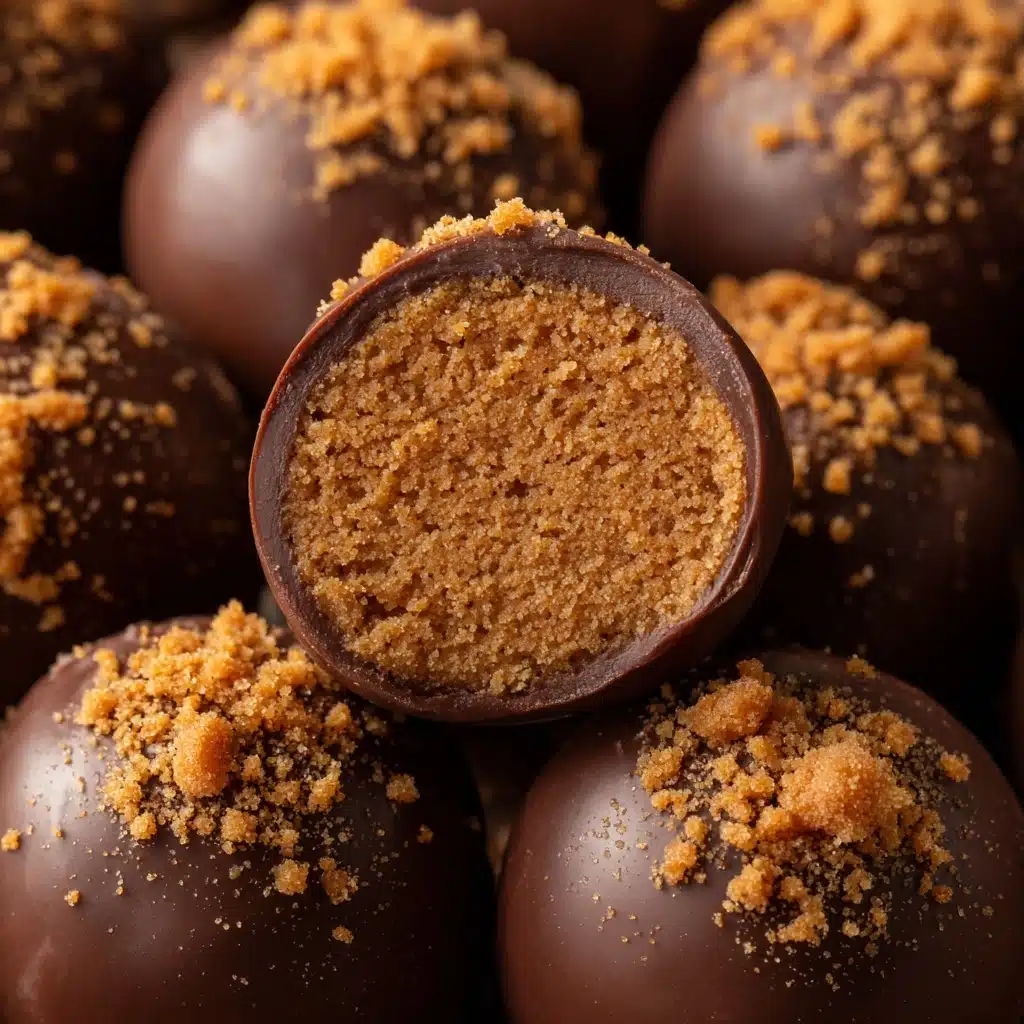
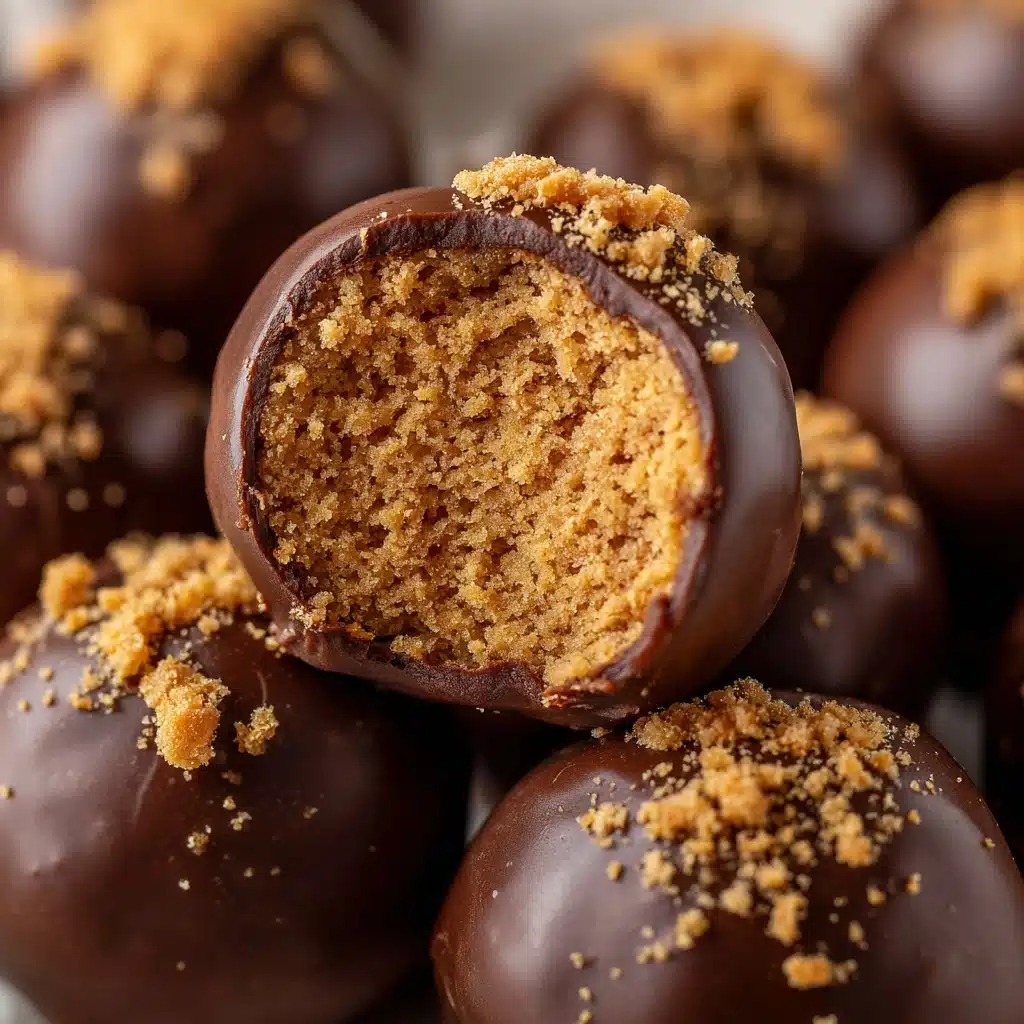
If you’re a fan of sweet-and-salty treats, prepare yourself for Butterfinger Balls: the ultimate, no-bake confection that marries creamy peanut butter and buttery goodness with a crunchy surprise in every bite. This fun, nostalgic treat is equal parts decadent and playful, with a chocolate coating that seals in a melt-in-your-mouth, candy-studded center. Whether you’re prepping holiday goodies, party treats, or simply giving yourself an excuse to indulge on a random Tuesday, Butterfinger Balls will bring out your inner kid and put a smile on everyone’s face.
Ingredients You’ll Need
Whipping up Butterfinger Balls is as simple as it gets, yet each ingredient pulls its weight in bringing out the irresistible flavor and texture. These pantry staples combine to create a treat with a creamy interior, a satisfying crunch, and a gloriously chocolatey exterior.
- Creamy peanut butter: Smooth, salty-sweet peanut butter forms the backbone of the filling and gives these balls their rich, creamy texture.
- Unsalted butter (softened): Butter adds luxurious mouthfeel and helps the filling meld together perfectly.
- Vanilla extract: A splash of vanilla rounds out the flavors and heightens the sweetness of the candy.
- Powdered sugar: This fine sugar sweetens the mix and creates a thick, doughy base that’s easy to shape.
- Crushed Butterfinger candy bars: The star ingredient, these bits bring crunch, bright toffee flavor, and signature Butterfinger pizzazz.
- Semi-sweet chocolate or chocolate candy coating: Chocolate adds a gorgeous, snappy shell that encases all that peanut butter-candy joy inside.
How to Make Butterfinger Balls
Step 1: Blend the Filling
Start by grabbing a large mixing bowl and combining the peanut butter, softened butter, and vanilla extract. Using a hand mixer or stand mixer, beat the mixture until it’s fluffy and perfectly smooth—think of the filling as a decadent frosting that makes you want to lick the beaters. This step ensures every bite melts away on your tongue.
Step 2: Add the Sugar
Sprinkle in the powdered sugar a little at a time, mixing as you go. You’ll notice the filling becoming thicker and taking on a dough-like quality, easy to roll but soft to the touch. Take a second to taste and revel in the cloud-like sweetness!
Step 3: Fold in the Butterfinger Crunch
Gently fold in the crushed Butterfinger candy bars. Those irresistible shards and bits infuse every bite with crisp, toffee-like magic and a signature snap. Make sure they’re evenly distributed for ultimate texture and flavor in every ball.
Step 4: Shape into Balls
Scoop out about a tablespoon of the dough and roll between your palms to form 1-inch balls. Line them up on a parchment-lined baking sheet. They might look humble now, but we’re about to take them to candy heaven.
Step 5: Chill Time
Pop the tray into your refrigerator for at least 30 minutes. The balls need to firm up, making them easier to handle and ensuring they keep their shape when dipped in warm chocolate.
Step 6: Chocolate Dipping Delight
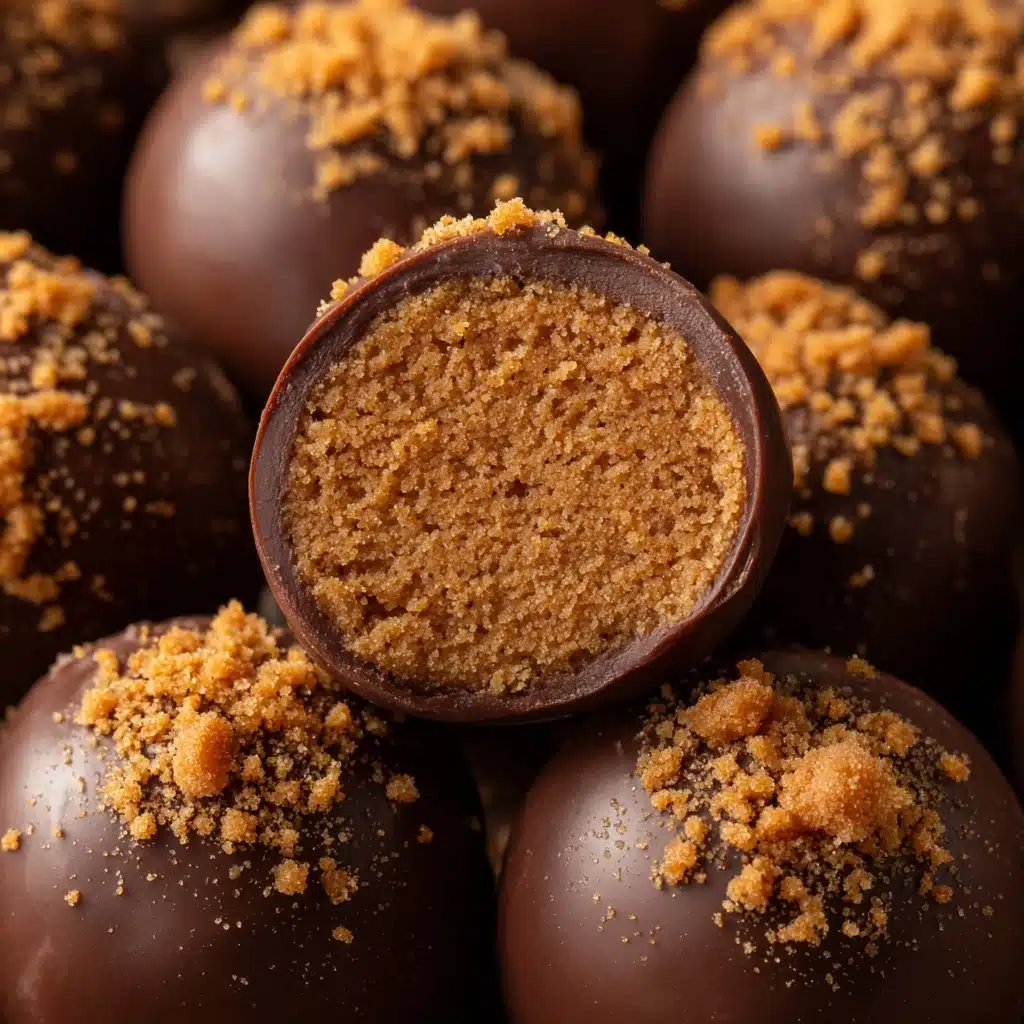
Melt your chocolate (or candy coating) in a microwave-safe bowl, using 30-second intervals and giving it a stir each time. Once smooth, it’s showtime! Dip each chilled ball in the luscious chocolate, coating it fully, and return to the parchment to set. For an extra pop, roll in more crushed Butterfinger while the coating is still wet. Let the chocolate set at room temperature or stash them back in the fridge if you’re impatient.
How to Serve Butterfinger Balls
Garnishes
Top each Butterfinger Ball with a sprinkle of crushed Butterfinger, a pinch of sea salt, or delicate chocolate drizzle before the coating sets for a bakery-worthy finish that’s as beautiful as it is crave-worthy. The extra hit of crunch or contrast makes each bite that much more irresistible.
Side Dishes
Serve Butterfinger Balls alongside a frosty glass of milk for a classic dunk-and-savor moment, or pair with hot coffee for a sophisticated treat. For a full dessert spread, complement with fresh fruit or salty pretzels to cut the sweetness.
Creative Ways to Present
Pile Butterfinger Balls high on a gorgeous tiered tray for a party centerpiece, package in cute boxes or jars for heartfelt edible gifts, or skewer onto lollipop sticks for an instant party pop. You can even fill mini cupcake liners with each ball for an elegant, fuss-free presentation that looks straight out of a boutique bakery.
Make Ahead and Storage
Storing Leftovers
Butterfinger Balls keep brilliantly in an airtight container in the refrigerator for up to 2 weeks. The cocoa shell locks in freshness, while the peanut butter center stays soft and dreamy—making them the perfect make-ahead treat for busy occasions or sudden sweet tooth emergencies.
Freezing
You can freeze Butterfinger Balls for up to 3 months. Arrange in a single layer in a freezer-safe container or zip-top bag, separating layers with parchment to prevent sticking. Thaw in the fridge before serving so the texture is perfect.
Reheating
No reheating required—these treats are best enjoyed cold from the fridge or at room temperature. If you’ve frozen them, just allow them to thaw in the refrigerator, and they’ll be ready to delight without any fuss.
FAQs
Can I use chunky peanut butter instead of creamy?
Absolutely! Chunky peanut butter will add a little extra crunch and texture to your Butterfinger Balls. Just know the filling will be a touch less smooth, but every bite will have a pleasant, nutty surprise.
What’s the best way to crush Butterfinger candy bars?
Place them in a zip-top bag and smash gently with a rolling pin or the bottom of a heavy cup. Aim for a mix of fine crumbs and small chunks for the perfect distribution of crispy candy throughout your Butterfinger Balls.
Can I make these gluten-free?
Double-check your Butterfinger bars and chocolate coating to ensure they’re gluten-free (most Butterfinger bars are, but always confirm packaging). Otherwise, all core ingredients are gluten-free and safe for most dietary preferences.
How do I keep the chocolate coating smooth and shiny?
For an extra glossy finish, consider adding a teaspoon of coconut oil to your melted chocolate. Dip while the chocolate is freshly melted, and let the balls set in a cool spot for flawless, bakery-style shine.
Can children help make Butterfinger Balls?
Definitely—this is a fantastic recipe to make with kids! Little ones can help roll the dough into balls, dip them in chocolate (with supervision), and, of course, sprinkle on extra crushed Butterfinger for the final touch.
Final Thoughts
Now that you know how easy and fun it is to make your own Butterfinger Balls, I can’t wait for you to try them! Dive in, share them (if you can bear to part with any), and watch friends and family light up after that first bite. Happy candy making!
Print
Butterfinger Balls Recipe
- Prep Time: 30 minutes
- Cook Time: 0 minutes
- Total Time: 30 minutes (plus chilling)
- Yield: 36 balls
- Category: Dessert, Candy
- Method: No-Bake
- Cuisine: American
- Diet: Vegetarian
Description
Indulge in the irresistible combination of creamy peanut butter, crunchy Butterfinger, and rich chocolate with these delectable Butterfinger Balls. These no-bake treats are perfect for satisfying your sweet cravings.
Ingredients
Peanut Butter Mixture:
- 1 cup creamy peanut butter
- 1/2 cup unsalted butter, softened
- 1 teaspoon vanilla extract
- 3 cups powdered sugar
Additional Ingredients:
- 1 1/2 cups crushed Butterfinger candy bars
- 16 ounces semi-sweet chocolate or chocolate candy coating
Instructions
- Mix Peanut Butter Mixture: In a large mixing bowl, beat together the peanut butter, softened butter, and vanilla until smooth and creamy.
- Add Powdered Sugar: Gradually mix in the powdered sugar until well combined and a dough forms.
- Combine with Butterfinger: Fold in the crushed Butterfinger pieces until evenly distributed.
- Shape into Balls: Form the mixture into 1-inch balls and place on a parchment-lined baking sheet.
- Chill: Refrigerate the balls for at least 30 minutes to firm up.
- Melt Chocolate: In a microwave-safe bowl, melt the chocolate in 30-second intervals, stirring until smooth.
- Coat Balls: Dip each chilled ball into the melted chocolate, ensuring complete coating.
- Set Chocolate: Place the coated balls back on parchment paper and allow the chocolate to set at room temperature or in the refrigerator before serving.
Notes
- For added crunch, roll the chocolate-coated balls in more crushed Butterfinger pieces before the chocolate sets.
- Store in an airtight container in the refrigerator for up to 2 weeks or freeze for longer storage.

