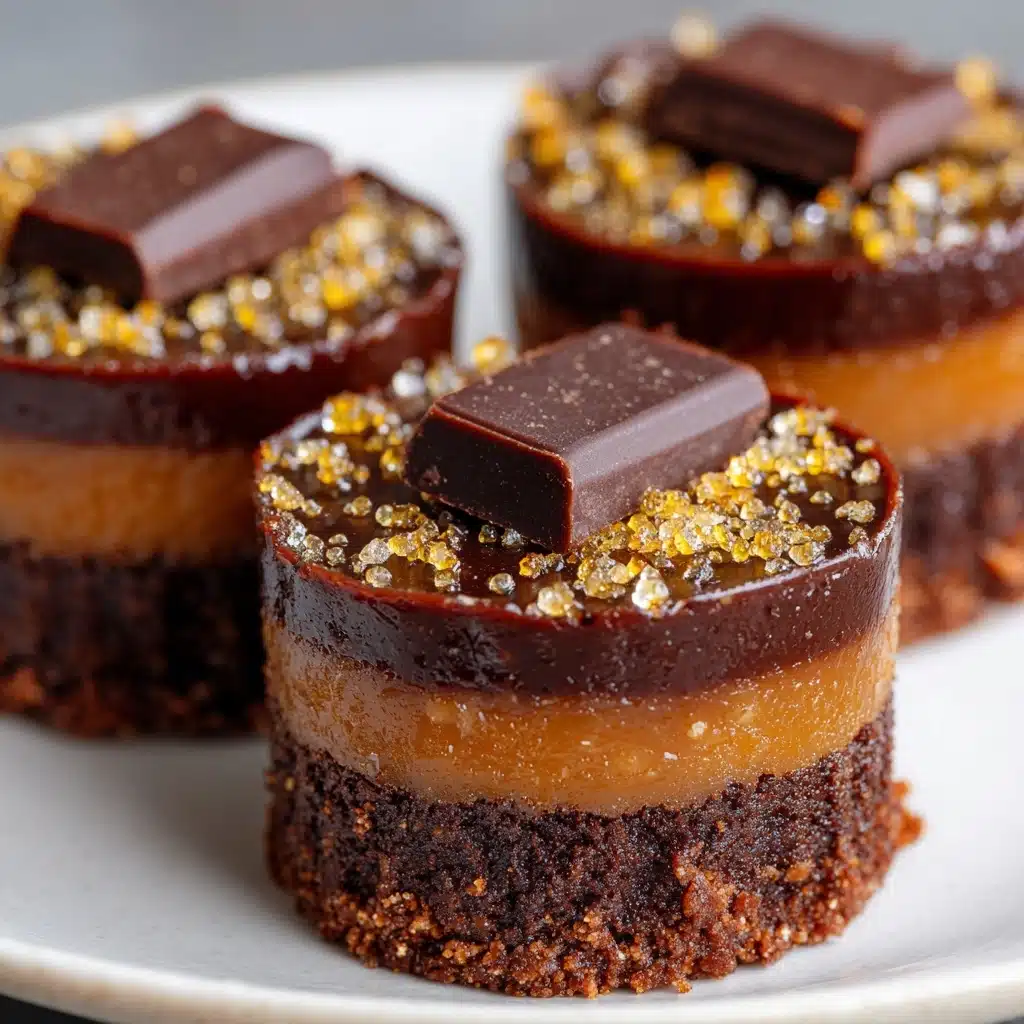
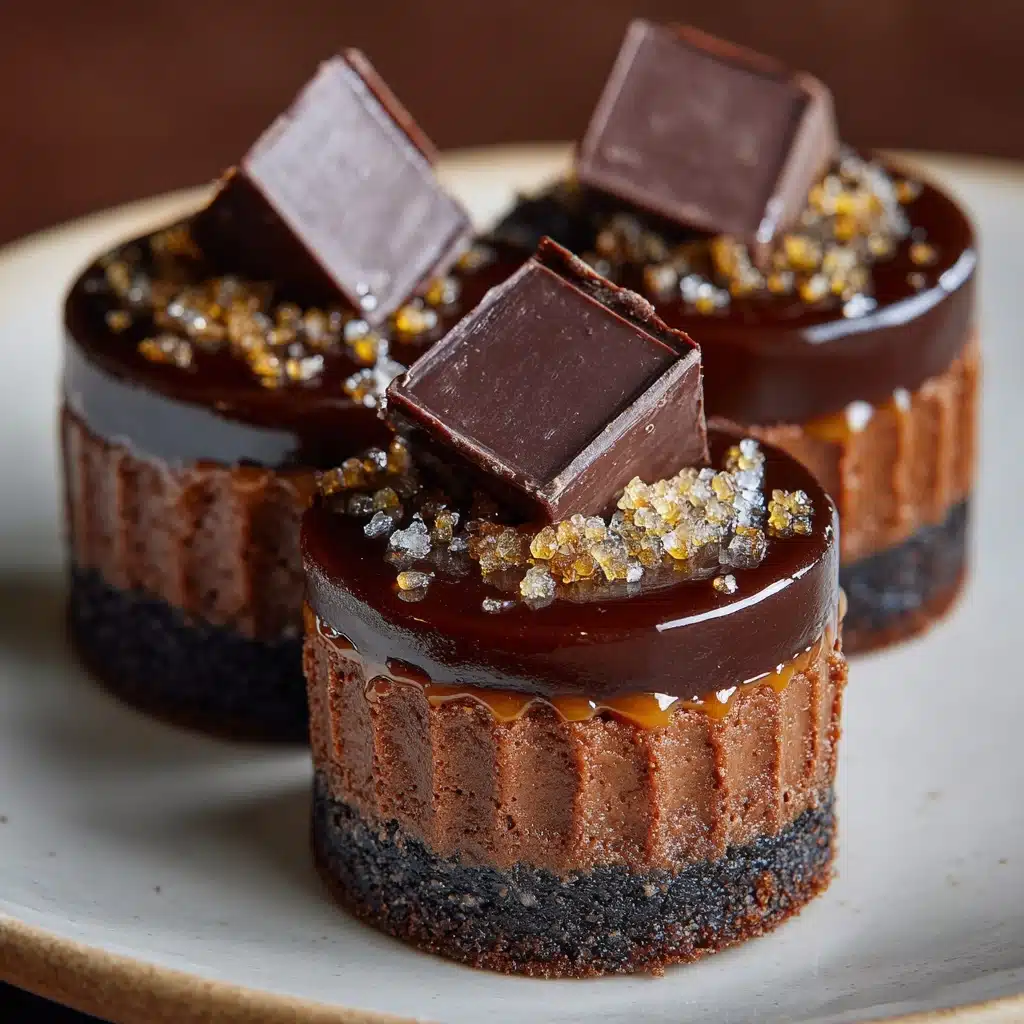
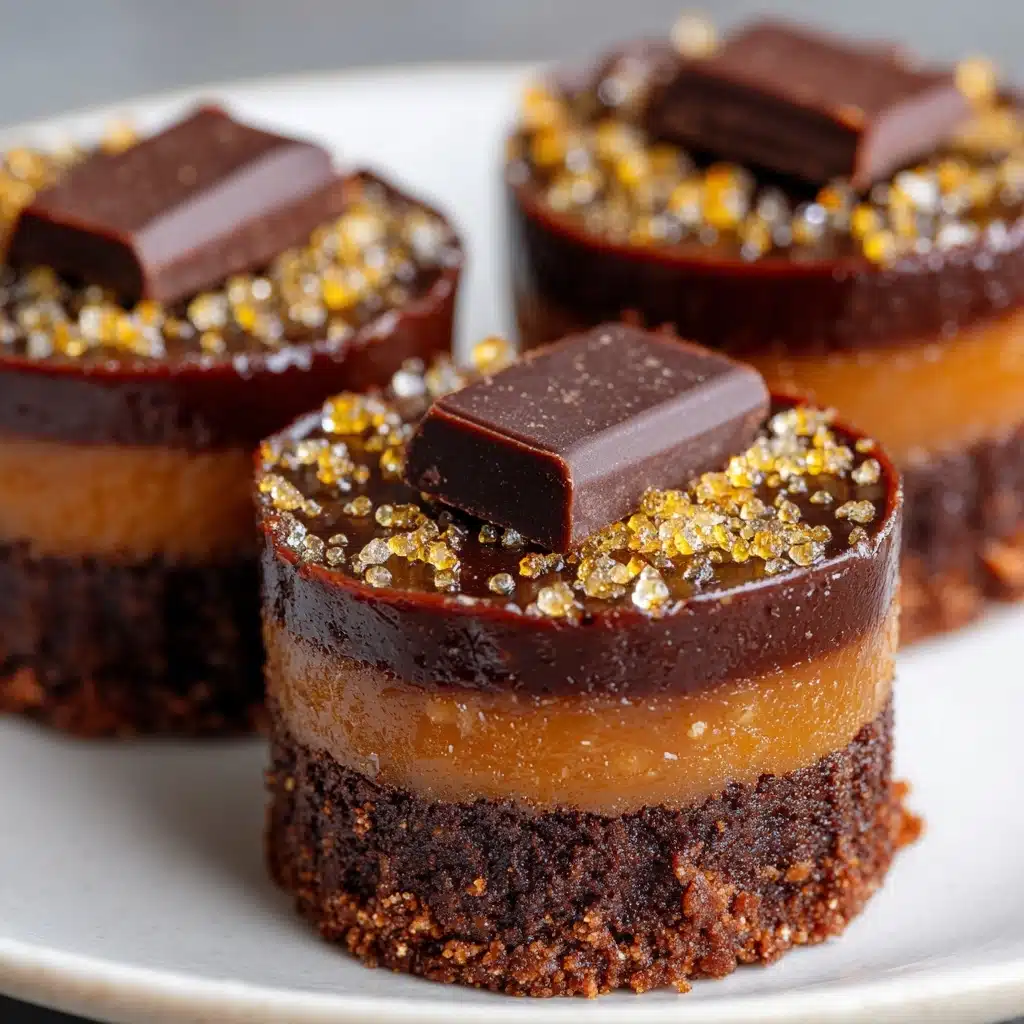
If you’ve ever wished you could get your Twix fix without all the added sugar and processed ingredients, these Healthy Twix Cups are about to become your new obsession. Rich almond flour bases, gooey caramel-inspired centers, and decadent dark chocolate tops all come together for a treat that feels truly luxurious, yet is secretly gluten-free, dairy-free, and made with wholesome pantry staples. These no-bake goodies are everything you want from a classic candy bar, but so much lighter and better for you—without sacrificing that irresistible flavor!
Ingredients You’ll Need
The beauty of Healthy Twix Cups is how easy and accessible the ingredients are. Each component plays a vital role, from the nutty almond flour crust to the luscious nut butter caramel and snappy chocolate topping. Here’s what you’ll need and exactly why it makes this treat shine:
- Almond flour: Delivers a naturally sweet, buttery base and keeps these cups gluten-free.
- Coconut oil (melted): Binds everything together and adds that signature silky texture to both crust and caramel layers.
- Maple syrup: Provides gentle natural sweetness and a delicious depth of flavor in every bite.
- Salt: Brings out all the flavors and adds just the right touch of contrast—don’t skip it!
- Natural almond or peanut butter: Creates the dreamy, creamy “caramel” middle; almond butter for a mellow flavor, peanut butter for a bold twist.
- Vanilla extract: Highlights the caramel notes and infuses the filling with warmth.
- Dark chocolate chips: The crowning layer, offering rich chocolate flavor while keeping things antioxidant-rich and dairy-free.
- Coconut oil (for chocolate): Makes the chocolate melt beautifully and gives that perfect snap when you bite in.
How to Make Healthy Twix Cups
Step 1: Prepare the Muffin Tin
Start by lining a muffin tin with 10 paper liners. This will make it easy to pop out your Healthy Twix Cups once they’re set and keep them looking picture-perfect for serving or gifting. Trust me, a little prep now saves a lot of sticky fingers later!
Step 2: Mix the Almond Flour Base
In a mixing bowl, combine the almond flour, melted coconut oil, maple syrup, and salt until you have a soft, crumbly dough. This forms the “cookie” base—think of it as a luscious, shortbread-inspired layer. Divide the mixture evenly among the 10 liners and press down firmly to pack it in. Pop the pan in the freezer for 10 minutes to firm up the bases; this makes adding the next layer so much easier.
Step 3: Make the Caramel Layer
While your bases chill, whisk together the almond (or peanut) butter, maple syrup, melted coconut oil, vanilla, and salt in a separate bowl. This thick, creamy spread is your healthy caramel imitator. Spoon it evenly over the set bases, smoothing to cover. Place the whole pan back in the freezer for another 15 minutes—patience pays off for that perfect layered look.
Step 4: Top with Chocolate
Gently melt the dark chocolate chips with 1 teaspoon coconut oil, either in the microwave (in 30-second bursts) or with a double boiler. Stir until completely smooth. Pour the glossy chocolate over each cup, letting it spread out to cover the caramel. A swirl of the spoon will help you reach those edges! Then refrigerate the whole tray for about 30 minutes, until the chocolate is set and irresistibly shiny.
Step 5: Unmold and Serve
Once your Healthy Twix Cups are fully set, gently remove them from the liners. If you’re not devouring them on the spot, store them in an airtight container in the fridge—they’ll stay picture-perfect and ready to grab whenever you need a sweet treat or healthier dessert fix.
How to Serve Healthy Twix Cups
Garnishes
You can give these cups a finishing touch with a sprinkle of flaky sea salt on the chocolate while it’s still soft—this adds a gourmet pop and really brings the flavors together. For a fun spin, try a dusting of crushed freeze-dried berries or a pinch of chopped nuts for extra color and crunch.
Side Dishes
Healthy Twix Cups are fantastic solo, but they also shine as part of a stylish dessert spread. Pair them with fresh berries, a scoop of coconut or vegan vanilla ice cream, or even a dollop of Greek-style yogurt if you’re feeling extra decadent. They’re a fantastic complement to a fruit platter at brunch or a coffee and dessert bar at a party.
Creative Ways to Present
If you want to impress, layer these on a pretty cake stand or tuck each one into a mini cupcake wrapper for gift giving. At gatherings, try making a “twix cup tower” by stacking them in a pyramid, or serve alongside other bite-sized treats for a stunning no-bake dessert platter. Their elegant look and clean layers make them a conversation starter every time!
Make Ahead and Storage
Storing Leftovers
Leftover Healthy Twix Cups keep beautifully in the refrigerator for up to a week. Store them in an airtight container—this prevents the chocolate from absorbing any fridge odors and keeps that perfect fudgy texture. Arrange parchment between layers if you’re stacking, so nothing sticks together.
Freezing
If you want to make a double batch or save some for later, these cups freeze like a dream. Wrap each cup individually or place them in a single layer in a freezer-safe bag or box. They’ll keep well for up to two months. Just thaw in the fridge overnight or at room temperature for 10 to 15 minutes before serving for the best flavor and bite.
Reheating
There’s no need to reheat Healthy Twix Cups—they’re meant to be enjoyed chilled or at room temperature, just like classic chocolate treats. If they’ve been stored in the freezer, let them soften slightly for the ideal texture before you dig in. Avoid microwaving, as this can melt the chocolate and ruin those beautiful layers.
FAQs
Can I use peanut butter instead of almond butter in Healthy Twix Cups?
Definitely! Peanut butter gives the caramel layer a more intense, familiar flavor, while almond butter is milder and slightly sweeter. Both taste fantastic, so feel free to use your favorite—or try sunflower seed butter for a nut-free option.
Are Healthy Twix Cups suitable for kids?
Yes, absolutely! Since these are made without refined sugar, artificial ingredients, or gluten, they’re a fun and wholesome treat for kids and adults alike. Just be mindful of nut allergies if you’re serving to little ones or sharing at school events.
How do I prevent the layers from mixing together?
The key is patience—make sure to freeze each layer just long enough for it to set before adding the next. This helps keep those gorgeous, distinct layers intact so your Healthy Twix Cups look as tempting as they taste.
Can I make these without a muffin tin?
If you don’t have a muffin tin, you can use silicone cupcake molds or even shape the mixture into mini bars in a square pan, then slice once set. The key is something that allows you to layer and unmold easily.
Why do my chocolate tops sometimes crack after chilling?
This can happen if the chocolate layer is too thick or the cups are chilled too quickly. For the best results, spread the chocolate in a smooth, even layer and chill gently in the fridge instead of the freezer for that final set.
Final Thoughts
I hope you fall in love with these Healthy Twix Cups as much as I have. They’re everything you could want in a nostalgic treat—easy to make, loaded with real ingredients, and absolutely satisfying. Give them a try and let your sweet tooth rejoice—you might just discover your new favorite homemade dessert!
Print
Healthy Twix Cups Recipe
- Prep Time: 20 minutes
- Cook Time: 0 minutes
- Total Time: 50 minutes with chilling
- Yield: 10 cups
- Category: Dessert
- Method: No-Bake
- Cuisine: American
- Diet: Vegetarian
Description
Indulge in these delightful Healthy Twix Cups that are vegan, gluten-free, and dairy-free. A nutty almond flour base, creamy caramel filling, and rich dark chocolate make these homemade candies a guilt-free pleasure.
Ingredients
For the Base:
- 1 cup almond flour
- 3 tablespoons coconut oil, melted
- 2 tablespoons maple syrup
- 1/4 teaspoon salt
For the Caramel Filling:
- 1/2 cup natural almond butter or peanut butter
- 3 tablespoons maple syrup
- 2 tablespoons coconut oil, melted
- 1/2 teaspoon vanilla extract
- 1/4 teaspoon salt
For the Chocolate Coating:
- 1 cup dark chocolate chips
- 1 teaspoon coconut oil
Instructions
- Prepare the Base: Line a muffin tin with 10 paper liners. Mix almond flour, melted coconut oil, maple syrup, and salt. Divide and press into the muffin liners. Freeze for 10 minutes.
- Make the Caramel: Combine almond butter, maple syrup, melted coconut oil, vanilla, and salt. Spread over the bases and freeze for 15 minutes.
- Add the Chocolate: Melt dark chocolate chips with coconut oil. Pour over the caramel layer. Chill until set, about 30 minutes. Serve after removing from liners.
Notes
- Try using peanut butter or sunflower seed butter for variations.
- Store in the fridge for up to 1 week or freeze for longer freshness.

