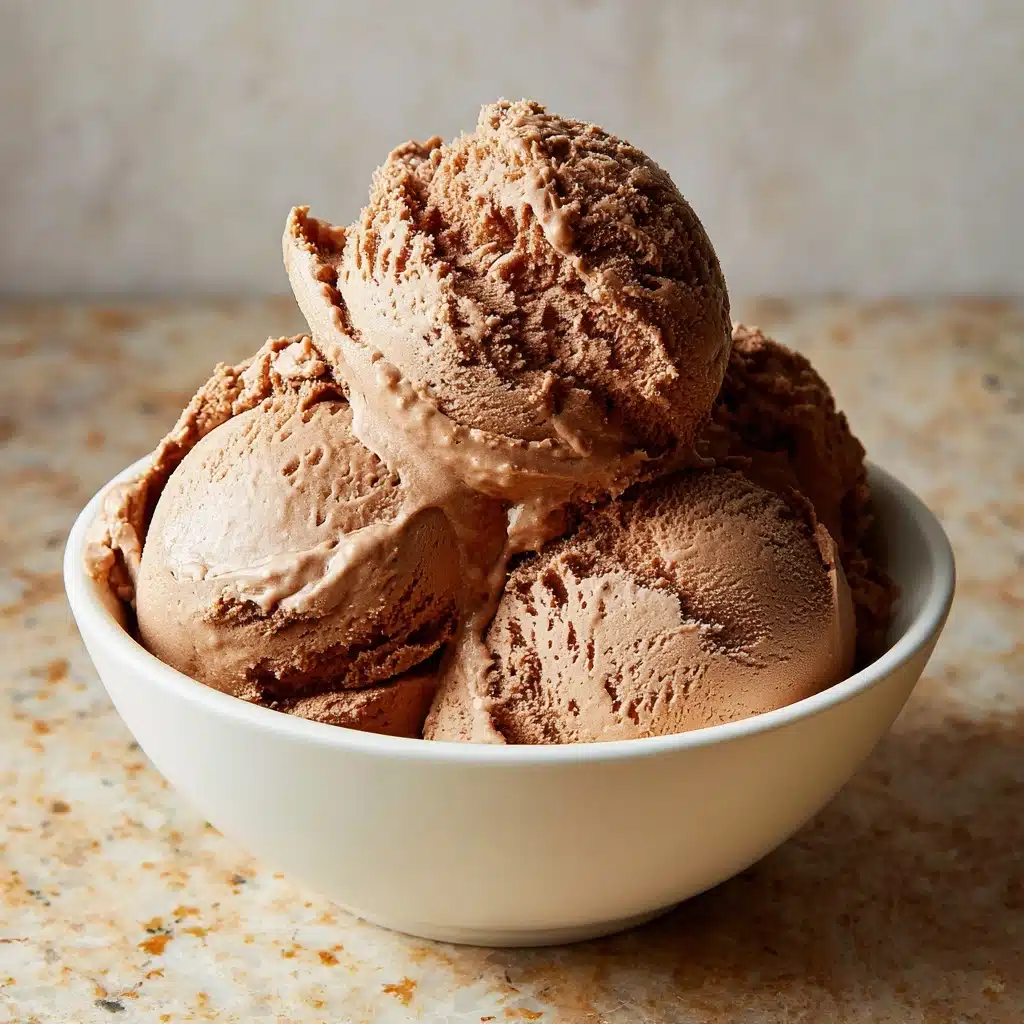
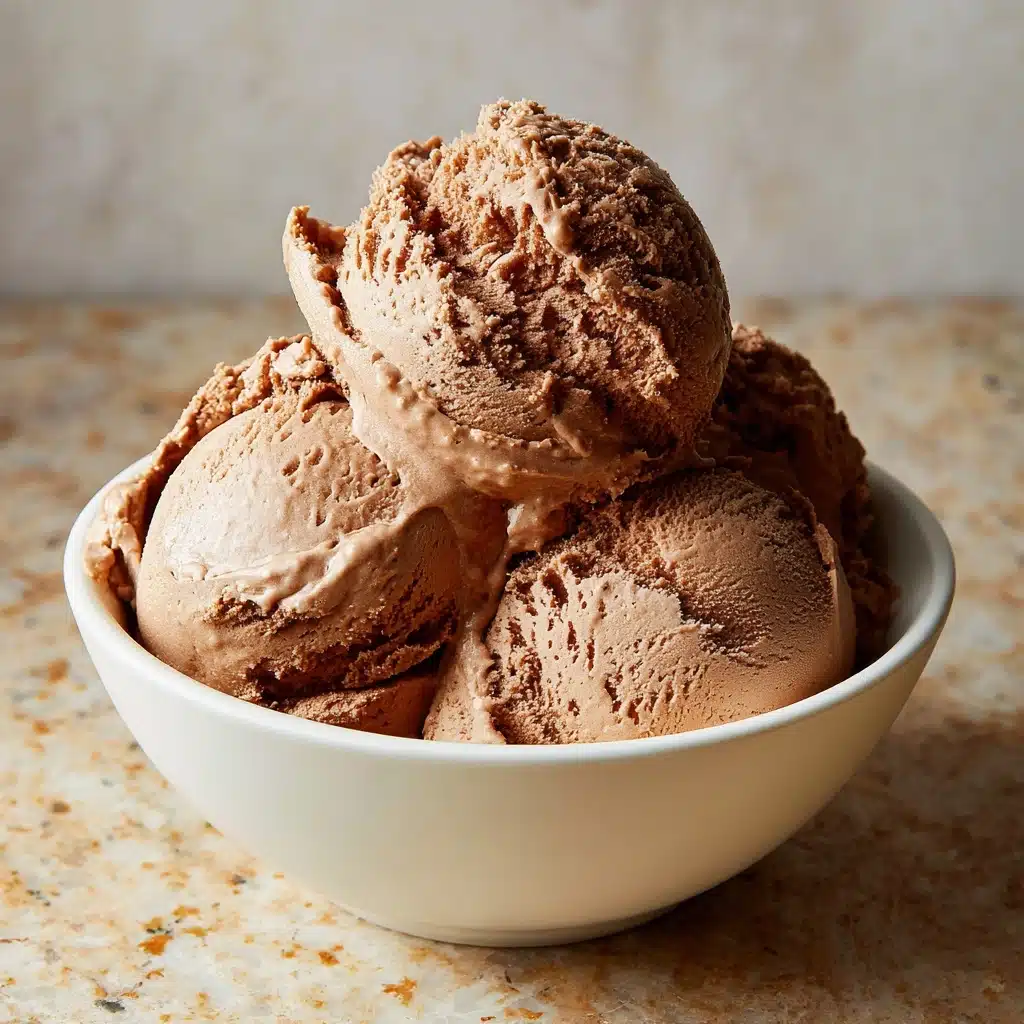
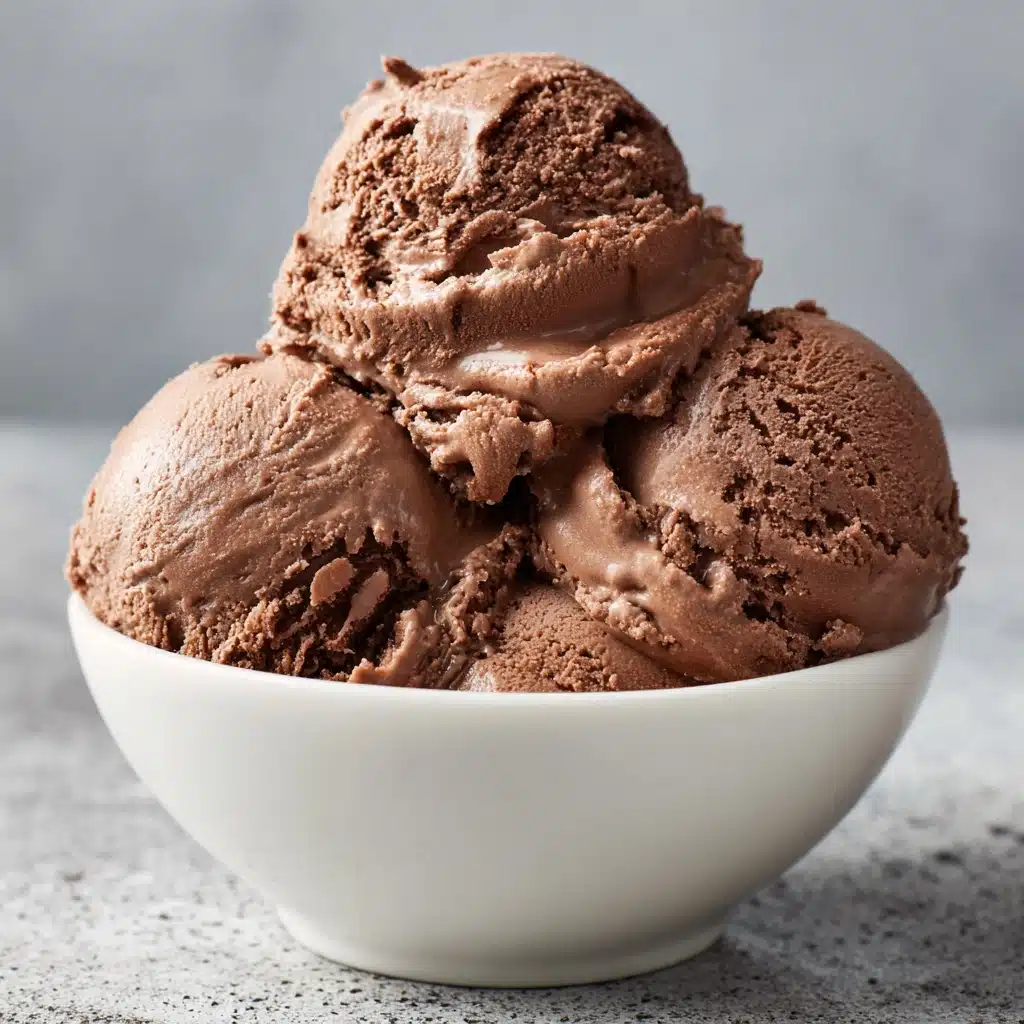
If you’re looking for a dessert that hits every delicious note—rich, luscious, and oh-so-satisfying—Creamy Frozen Chocolate Ice Cream is truly the answer to your cravings. This homemade treat combines velvety smooth chocolate with a dreamy, melt-on-your-tongue texture, brightened by the subtle lift of vanilla and the irresistible crunch of chocolate chunks (if you wish!). Whether you’re celebrating a special occasion or just want to make any night a little sweeter, this creamy frozen chocolate ice cream is destined to become your next kitchen favorite.
Ingredients You’ll Need
Gathering just a handful of familiar ingredients is all it takes to unlock the magic of Creamy Frozen Chocolate Ice Cream. Each one plays a crucial part—whether it’s for richness, structure, or flavor—coming together in this classic, unforgettable scoop.
- Heavy cream (2 cups): The backbone of creaminess—don’t substitute! This provides the silkiest texture possible.
- Whole milk (1 cup): Adds a lighter creaminess and helps balance out the richness of the heavy cream.
- Granulated sugar (3/4 cup): Sweetens the mix perfectly and gives the ice cream its classic scoopable texture.
- Unsweetened cocoa powder (1/2 cup): This is where the deep, intense chocolate flavor shines—use a quality brand for best results.
- Vanilla extract (1 teaspoon): Adds warmth and depth, highlighting the chocolate without overpowering it.
- Salt (pinch): Even a tiny amount enhances all the other flavors, especially chocolate!
- Chocolate chips or chunks (1/2 cup, optional): For a surprise in every bite—feel free to use dark, milk, or even white chocolate.
How to Make Creamy Frozen Chocolate Ice Cream
Step 1: Whisk and Warm the Base
In a medium saucepan over medium heat, whisk together the cocoa powder, sugar, salt, and milk. Watch as the mixture transforms into a glossy chocolate river—this is where the signature flavor of your Creamy Frozen Chocolate Ice Cream starts to build. Just be careful not to let it boil; keep whisking gently until everything is thoroughly combined and slightly warmed to help dissolve the sugar and cocoa.
Step 2: Add Cream and Vanilla
Remove the pan from heat and stir in the heavy cream and vanilla extract. At this point, your kitchen will already start to smell heavenly. By adding the cream off the heat, you maintain its freshness and richness, setting up the perfect consistency that makes homemade Creamy Frozen Chocolate Ice Cream so irresistible.
Step 3: Chill the Mixture
Pour the chocolatey base into a large bowl, cover, and refrigerate for at least 2 hours or until completely cold. This chilling step is non-negotiable—it’s the secret behind that luscious, creamy texture. If you have time, chill it overnight for even bolder chocolate flavor and smoother results.
Step 4: Churn to Perfection
Once chilled, pour the mixture into your ice cream maker and churn according to the manufacturer’s instructions (usually 20 to 25 minutes). If you love that mix-in factor, add your chocolate chips or chunks in the last few minutes of churning. The ice cream will look soft-serve style—a dreamy sight for any chocolate lover!
Step 5: Freeze and Scoop
Transfer the churned ice cream into an airtight container and pop it in the freezer for at least 2 hours to firm up. When you’re ready, scoop out big, rounded mounds and marvel at your own Creamy Frozen Chocolate Ice Cream masterpiece. You’ll never look at store-bought the same way again!
How to Serve Creamy Frozen Chocolate Ice Cream

Garnishes
A scoop of Creamy Frozen Chocolate Ice Cream is only the beginning—spruce it up with a scatter of chocolate shavings, a drizzle of warm fudge, a dollop of whipped cream, or a playful shower of rainbow sprinkles. Don’t forget a fresh cherry or a few toasted nuts for extra crunch and color.
Side Dishes
Pair your ice cream with slices of ripe strawberries, caramelized bananas, or a warm slice of chocolate cake. For those who crave a salty-sweet moment, try serving alongside pretzel sticks or a buttery shortbread cookie on the side. Each bite is a new adventure when you have Creamy Frozen Chocolate Ice Cream involved.
Creative Ways to Present
Why stop at bowls? Scoop Creamy Frozen Chocolate Ice Cream into crunchy waffle cones, layer it in parfait glasses with fresh berries and crushed cookies, or sandwich it between two chewy brownies for the ultimate dessert treat. For parties, serve mini scoops in shot glasses topped with a pinch of sea salt for a grown-up twist everyone will love.
Make Ahead and Storage
Storing Leftovers
Transfer any leftover Creamy Frozen Chocolate Ice Cream into an airtight container, pressing a piece of parchment or wax paper directly onto the surface before sealing. This handy trick minimizes ice crystals and keeps your ice cream tasting as fresh as possible for days to come.
Freezing
Homemade ice cream like this loves a cozy spot at the back of your freezer where the temperature is consistent. For peak flavor and texture, enjoy Creamy Frozen Chocolate Ice Cream within two weeks—though honestly, it rarely lasts that long in a chocolate-loving household!
Reheating
While you’ll never actually “reheat” ice cream, if your batch becomes super firm after prolonged freezing, just let it rest at room temperature for 5–10 minutes. Scooping will become a breeze, and that creamy texture will return in no time.
FAQs
Do I need an ice cream maker for this recipe?
For the best texture, an ice cream maker is recommended, but you can pour the chilled base into a loaf pan and freeze it, stirring every 30 minutes for a few hours. It won’t be quite as fluffy, yet it still delivers wonderful creamy chocolate flavor.
Can I adjust the sweetness?
Absolutely! If you prefer a less sweet Creamy Frozen Chocolate Ice Cream, reduce the sugar to 1/2 cup. You can even stir in a little extra cocoa for a more bittersweet, grown-up result.
Is this recipe egg-free?
Yes! There are no eggs needed in this ice cream, making it simple, lighter, and approachable even for beginners—no tempering or custard-cooking required.
What can I use instead of chocolate chips?
If you’d like to get creative, substitute the chocolate chips with chopped nuts, mini marshmallows, crushed cookies, or swirl in ribbons of peanut butter or caramel. The base is incredibly forgiving and fun to personalize.
How do I get a super-smooth texture?
For that dreamy, ultra-smooth mouthfeel, pour your warm chocolate base through a fine mesh strainer before chilling. This removes any little bits of cocoa and ensures your Creamy Frozen Chocolate Ice Cream is as luxurious as possible.
Final Thoughts
Creamy Frozen Chocolate Ice Cream is pure joy in a bowl—a treat that feels both comforting and special, no matter the season. Don’t be surprised if making it becomes your new favorite kitchen ritual. Grab those ingredients, spin up a batch, and let every bite remind you how simple, magical chocolate ice cream can truly be.
Print
Creamy Frozen Chocolate Ice Cream Recipe
- Prep Time: 10 minutes
- Cook Time: 5 minutes
- Total Time: 4 hours 15 minutes
- Yield: 6 servings
- Category: Dessert
- Method: Churning
- Cuisine: American
- Diet: Vegetarian
Description
Indulge in the rich and creamy goodness of homemade chocolate ice cream with this easy recipe. This frozen treat is perfect for satisfying your sweet cravings on a hot day.
Ingredients
For the Ice Cream:
- 2 cups heavy cream
- 1 cup whole milk
- 3/4 cup granulated sugar
- 1/2 cup unsweetened cocoa powder
- 1 teaspoon vanilla extract
- Pinch of salt
- 1/2 cup chocolate chips or chunks (optional)
Instructions
- Mix the Ingredients: In a medium saucepan over medium heat, whisk together the cocoa powder, sugar, salt, and milk until fully combined and slightly warmed—do not boil. Remove from heat and stir in the heavy cream and vanilla extract.
- Chill the Mixture: Chill the mixture in the refrigerator for at least 2 hours, or until completely cold.
- Churn the Ice Cream: Once chilled, pour the mixture into your ice cream maker and churn according to the manufacturer’s instructions (usually about 20–25 minutes). During the last few minutes of churning, add chocolate chips or chunks if using.
- Freeze and Serve: Transfer to a lidded container and freeze for at least 2 hours for a firmer texture. Scoop and serve cold.
Notes
- For an ultra-smooth texture, strain the mixture before chilling.
- You can swap chocolate chips for crushed cookies, nuts, or swirl in fudge or caramel sauce during the final freeze.


