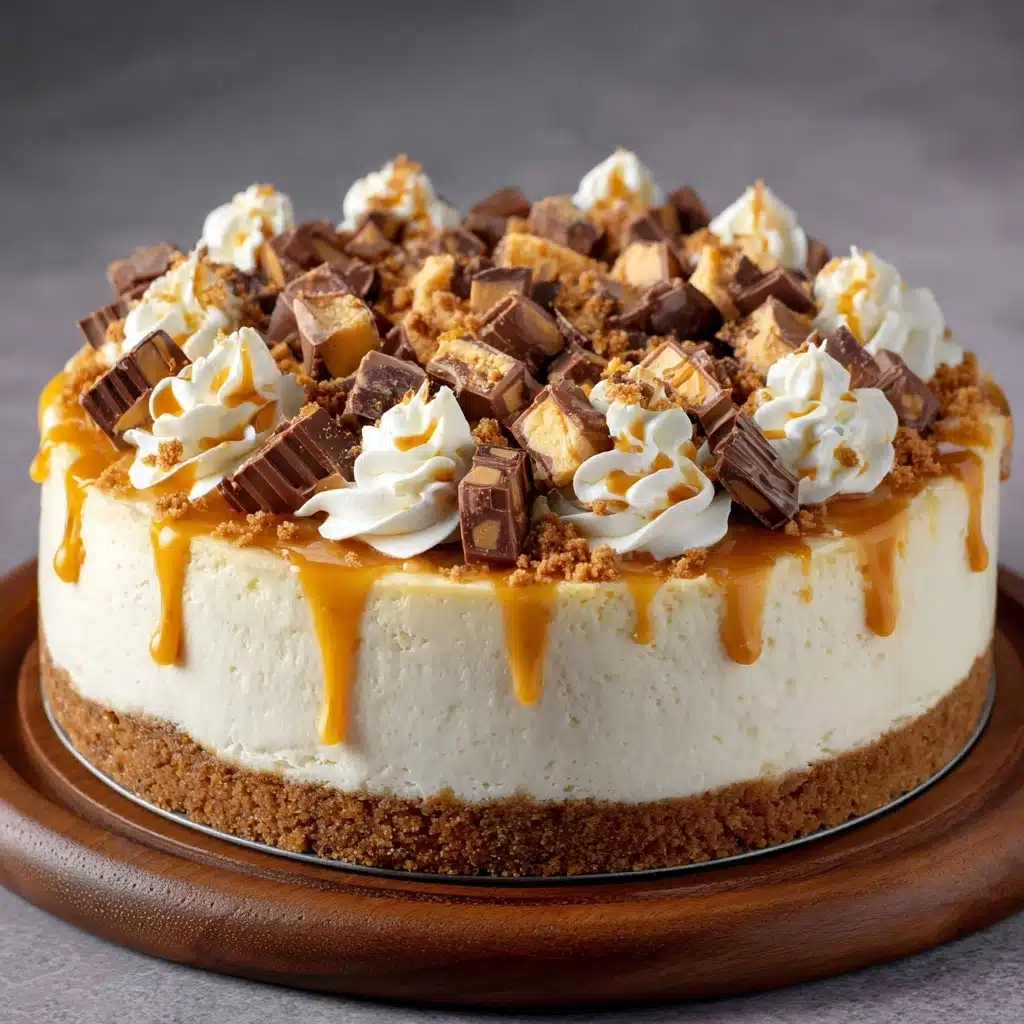
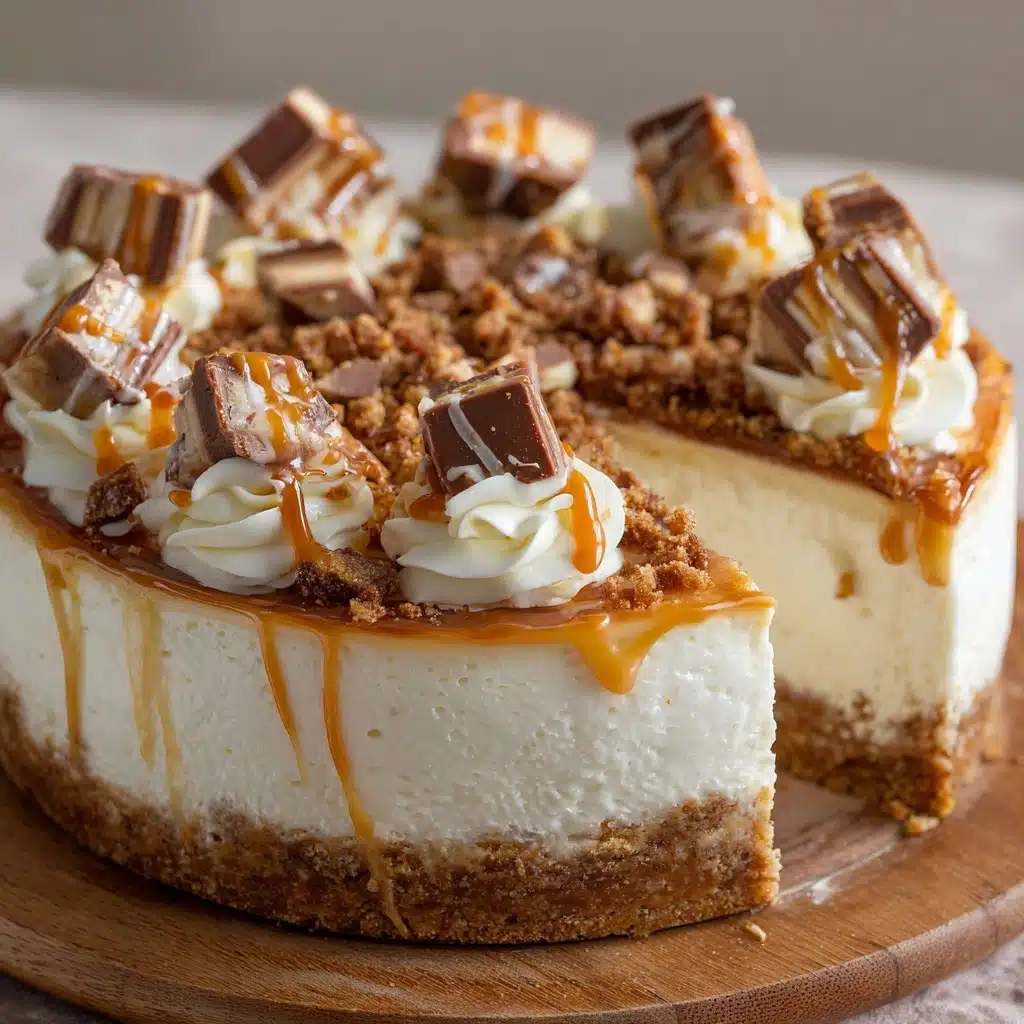
If you’re a fan of rich, creamy desserts with a sweet and salty twist, you’re going to absolutely fall in love with No-Bake Snickers Cheesecake. This jaw-dropping treat takes everything you adore from a classic cheesecake and loads it up with chunks of Snickers bars, silky caramel, crunchy peanuts, and ribbons of chocolate, all layered on a buttery chocolate cookie crust. The best part? You don’t even have to turn on your oven! Whether you’re hosting a party or treating yourself, get ready—this is the no-bake dessert your inner child has been dreaming of!
Ingredients You’ll Need
You only need a handful of simple ingredients to craft this incredible No-Bake Snickers Cheesecake, but each one plays a starring role. Think creamy dairy, sweet caramel, chewy chocolate chunks, and a crunchy, chocolatey base—every single element brings something special to the party.
- Chocolate cookie crumbs: They make the ultimate base, giving the cheesecake a rich, chocolatey foundation with a pleasant crunch.
- Unsalted butter (melted): Holds the crust together and adds a touch of luxurious flavor to every bite.
- Cream cheese (softened): The heart and soul of your filling—use full-fat for the best, creamiest texture.
- Powdered sugar: Sweetens the creamy filling without any grittiness, blending smoothly with the cream cheese.
- Vanilla extract: Adds warmth and depth, making all the flavors pop just a little bit more.
- Heavy whipping cream: When whipped, it makes the cheesecake filling impossibly light and fluffy.
- Caramel sauce: Swirled into the filling and drizzled on top, it brings that classic Snickers gooeyness to every layer.
- Snickers bars (chopped): The signature star of the show—these add chewy, nutty, chocolatey bursts throughout the cheesecake.
- Chocolate sauce: A drizzle on top takes the chocolate factor to the next level—make your own, or use store-bought.
- Chopped peanuts: Sprinkle for crunch, saltiness, and extra Snickers authenticity.
How to Make No-Bake Snickers Cheesecake
Step 1: Make the Chocolate Cookie Crust
Start by mixing your chocolate cookie crumbs with melted butter in a medium bowl. Stir until every crumb is glistening—this ensures your crust will hold together and taste divine. Press the mixture firmly into the bottom of a 9-inch springform pan. I like to use the bottom of a measuring cup to get it nice and even. Pop the crust into the fridge while you prepare the filling, so it sets up perfectly.
Step 2: Beat the Cream Cheese Base
Add the softened cream cheese to a large mixing bowl and beat until it’s completely smooth and creamy. Next, add the powdered sugar and vanilla, and keep beating until everything’s perfectly combined. This forms the creamy, dreamy base of your No-Bake Snickers Cheesecake.
Step 3: Whip the Cream
In a separate bowl, whip the heavy cream until stiff peaks form. Don’t rush this step—properly whipped cream is what gives the cheesecake its cloud-like, mousse-y texture. Once you have those peaks, you’re ready for the next step.
Step 4: Fold and Add Snickers Magic
Gently fold the whipped cream into the cream cheese mixture using a spatula. Take your time and don’t overmix—you want to keep the filling light and airy. Now comes the really fun part: stir in the caramel sauce and those irresistible chopped Snickers bars. Every spoonful will have little treasures of gooey caramel and chocolate.
Step 5: Assemble and Chill
Spoon the luscious filling over your chilled crust, smoothing out the top with a spatula. Cover and refrigerate for at least 6 hours (or overnight, if you can wait that long). Setting it for this long ensures the layers firm up and slice beautifully.
Step 6: Finish with Toppings
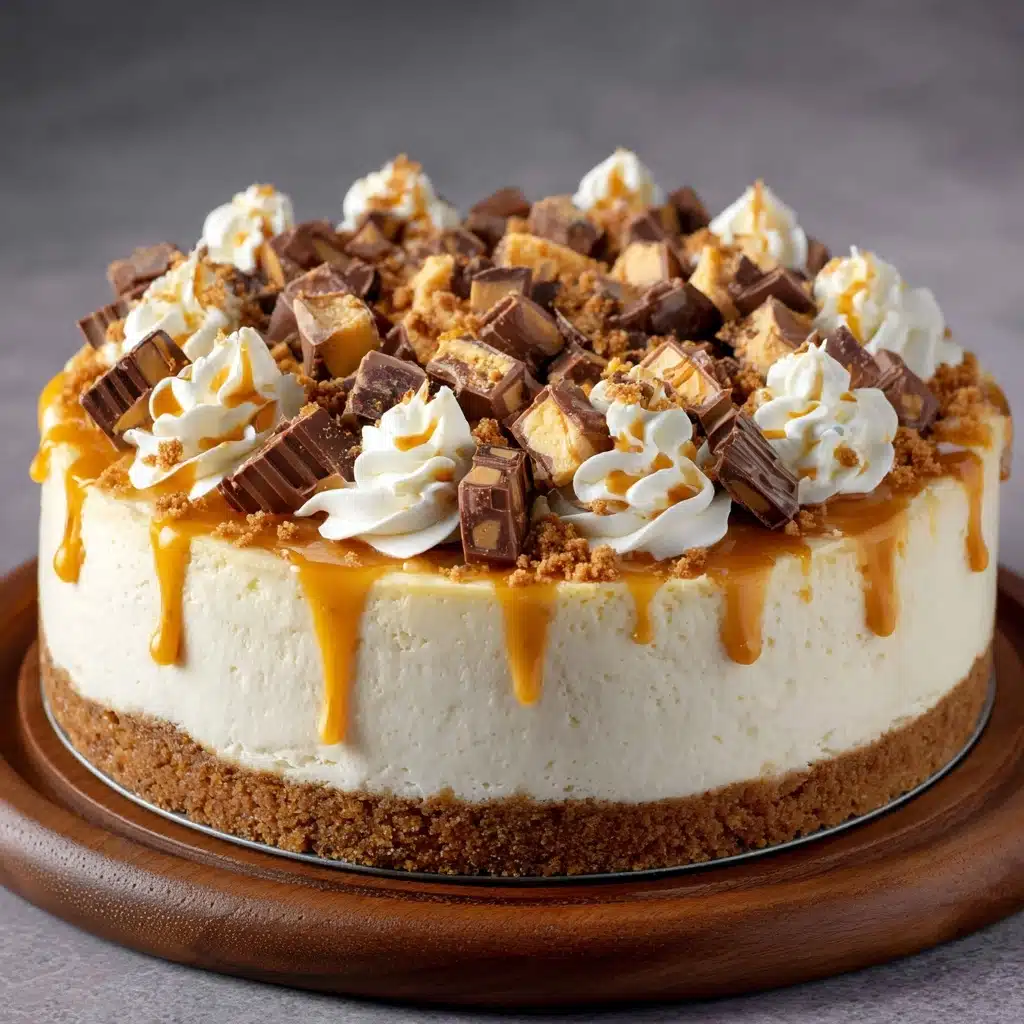
Just before serving, pour a generous drizzle of caramel and chocolate sauce over the top. Sprinkle a hearty handful of chopped peanuts and more Snickers pieces. Slice while chilled and prepare to fall head over heels—your No-Bake Snickers Cheesecake masterpiece is ready!
How to Serve No-Bake Snickers Cheesecake
Garnishes
The sky’s the limit when it comes to garnishing No-Bake Snickers Cheesecake. Aside from the classic caramel and chocolate drizzle with peanuts and extra candy bars, you can add a sprinkle of flaky sea salt for contrast, or even a touch of whipped cream for a little extra flair. Each of these toppers not only looks beautiful but also heightens the decadent Snickers vibes.
Side Dishes
This cheesecake is a showstopper on its own, but pairing it with sides can make dessert hour even more fun. Try serving each slice with a tall glass of cold milk, a hot cup of coffee, or an espresso—it perfectly balances all that creamy sweetness. Simple fresh berries or a few orange segments also offer a pleasant, refreshing contrast to the richness of the cake.
Creative Ways to Present
Beyond the classic cake wedge, you can create individual portions by assembling the layers in small mason jars or dessert cups—a perfect grab-and-go option for parties. Hosting a celebration? Garnish each serving with a tiny Snickers “flag” on a toothpick for a festive touch. You can even transform leftovers into parfaits layered with more whipped cream and some extra cookie crumbs. No-Bake Snickers Cheesecake is meant to be fun, so play around!
Make Ahead and Storage
Storing Leftovers
Leftover No-Bake Snickers Cheesecake will keep beautifully in the refrigerator for up to 4 days. Just be sure to cover the pan tightly with plastic wrap or transfer slices to an airtight container to keep them from absorbing any fridge odors. The flavors mellow and meld as it rests, making day-two cheesecake just as delightful—if not better!
Freezing
If you’d like to make the cheesecake far in advance (or just want to squirrel away a secret stash), you can absolutely freeze it. Wrap the whole cheesecake or individual slices in plastic wrap and again in foil. Freeze for up to a month. Thaw overnight in the refrigerator before serving; the texture stays luscious and creamy, especially if you add the toppings fresh just before eating.
Reheating
There’s no need to reheat No-Bake Snickers Cheesecake. If you want a slightly firmer slice, you can pop it in the freezer for 1 to 2 hours before cutting—it makes clean slices and a slightly denser, ice-cream-cake-like experience that’s perfect for hot days.
FAQs
Can I use a different candy bar instead of Snickers?
Absolutely! While chopping up Snickers bars gives that signature chocolate-peanut-caramel combo, you can easily swap in Milky Way, Twix, or Reese’s for your very own twist on this recipe. Just make sure to use roughly the same amount to maintain balance.
Can I make No-Bake Snickers Cheesecake gluten-free?
Yes, simply use gluten-free chocolate cookies for the crust. Most other ingredients are naturally gluten-free, but always double-check labels, especially for caramel sauce and candy bars.
What’s the best way to get clean slices?
For picture-perfect slices, use a sharp knife dipped in hot water and wiped dry between cuts. Chilling or even briefly freezing the cheesecake makes slicing even easier—and you’ll get beautiful, clean layers every time.
Can I make this ahead for a party?
No-Bake Snickers Cheesecake is the ultimate make-ahead dessert! Prepare it the night before and top with sauces, peanuts, and candy just before serving for maximum freshness and wow-factor.
Why is my cheesecake filling not setting?
The most common culprit is under-whipped cream or not enough chill time. Make sure the heavy cream is whipped to stiff peaks, and give the cheesecake at least 6 hours (overnight is even better) in the fridge to set properly before slicing.
Final Thoughts
If you’re looking to treat yourself or dazzle a crowd, making No-Bake Snickers Cheesecake is a surefire way to impress. It’s a dessert that combines childhood nostalgia with easy, no-fuss preparation—and every bite is pure delight. Go ahead, give it a try and watch everyone swoon!
Print
No-Bake Snickers Cheesecake Recipe
- Prep Time: 30 minutes
- Cook Time: 0 minutes
- Total Time: 6 hours 30 minutes (including chilling)
- Yield: 12 servings
- Category: Dessert
- Method: No-Bake
- Cuisine: American
- Diet: Vegetarian
Description
Indulge in the decadent delight of this No-Bake Snickers Cheesecake that combines the rich flavors of chocolate, caramel, and peanuts in a creamy, dreamy dessert.
Ingredients
For the crust:
- 2 cups chocolate cookie crumbs
- 1/2 cup unsalted butter, melted
For the filling:
- 16 ounces cream cheese, softened
- 1 cup powdered sugar
- 1 teaspoon vanilla extract
- 1 1/4 cups heavy whipping cream
- 1/2 cup caramel sauce
- 1 cup chopped Snickers bars
For the topping:
- 1/2 cup caramel sauce
- 1/4 cup chocolate sauce
- 1/2 cup chopped peanuts
- 1/2 cup chopped Snickers bars
Instructions
- Prepare the crust: Mix cookie crumbs with melted butter, press into a pan, and refrigerate.
- Make the filling: Beat cream cheese, sugar, and vanilla. Whip cream separately, fold into cream cheese, add caramel and Snickers.
- Assemble the cheesecake: Spread filling over crust, refrigerate until set.
- Add the topping: Drizzle with caramel and chocolate sauce, sprinkle with peanuts and Snickers.
- Serve: Slice and enjoy chilled.
Notes
- For a firmer texture, freeze the cheesecake for 1 to 2 hours before slicing.
- This cheesecake keeps well in the fridge for up to 4 days.
- You can also make it in individual cups for a fun party dessert.

