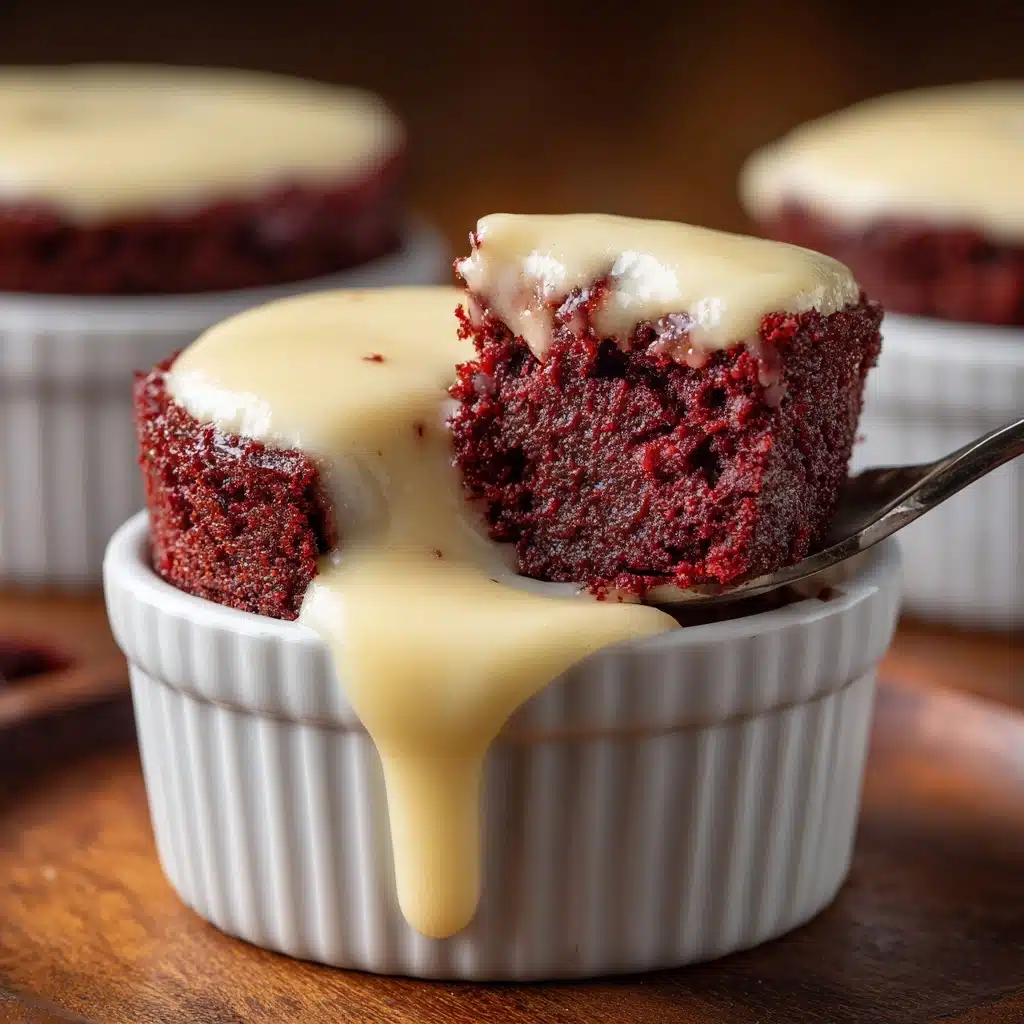
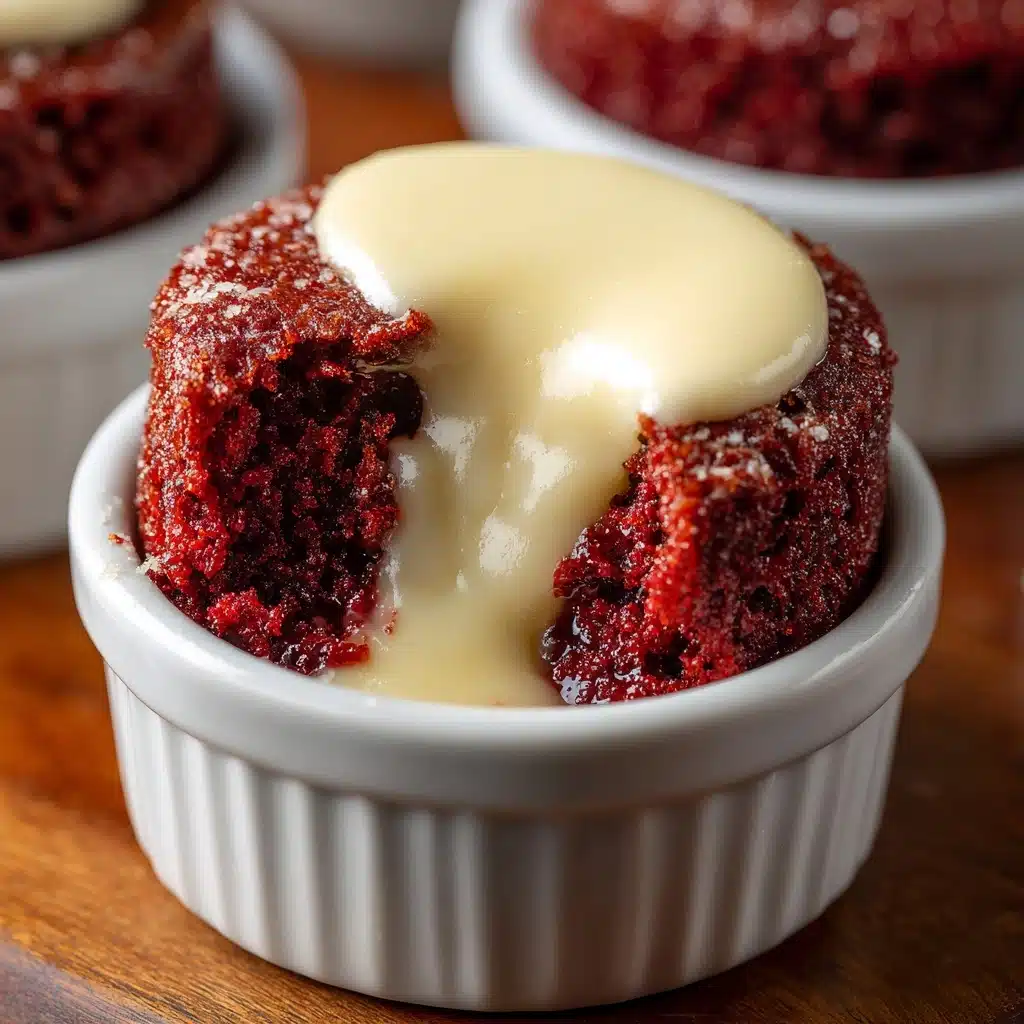
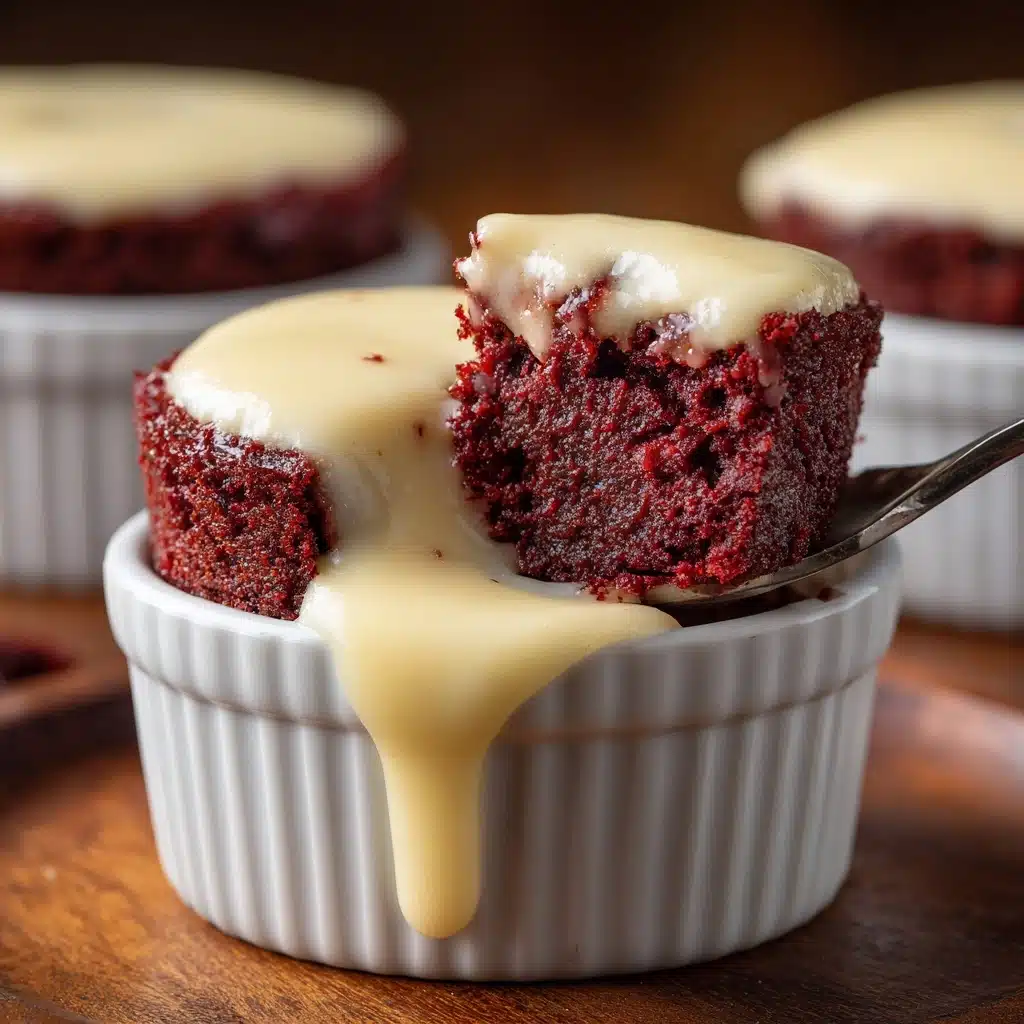
Imagine the pure joy of biting into a fudgy, crimson-red brownie stick, perfectly crisp at the edges yet decadently tender, and then dunking it into a cloud of luscious, tangy cheesecake dip. That’s what you get with Homemade Red Velvet Brownie Dippers with Cheesecake Dip—an irresistible twist on classic red velvet, created just for sharing, snacking, and celebrating. Whether you’re baking for a party or just treating yourself, this is the kind of dessert that brings out smiles, second helpings, and plenty of “can I have the recipe?” requests!
Ingredients You’ll Need
You’ll be amazed by how easily pantry staples transform into something so show-stopping. Each ingredient in Homemade Red Velvet Brownie Dippers with Cheesecake Dip brings a special touch to the texture, color, or that signature tangy-sweet flavor. Stock your kitchen with these, and you’re halfway to dessert bliss!
- Unsalted butter: Adding melted butter delivers a rich, dense brownie base you’ll crave every time.
- Granulated sugar: Sweetens and gives the brownies their beloved crackly top.
- Large eggs: Provide structure and keep the brownies moist without getting cakey.
- Vanilla extract: Enhances the overall flavor and echoes the creamy cheesecake dip.
- Red food coloring: For that dramatic, signature red velvet look that turns heads!
- White vinegar: Just a splash gives authentic red velvet its subtle tang and reacts with cocoa for color.
- Unsweetened cocoa powder: Brings in gentle chocolate notes that balance the sweetness.
- All-purpose flour: The core structure ingredient, keeping everything together.
- Salt: Elevates and balances the taste, making every bite pop.
- Cream cheese (softened): The star of the cheesecake dip, for creamy tanginess.
- Powdered sugar: Sweetens the dip and ensures a silky texture.
- Vanilla extract (for dip): Adds a comforting depth to the cheesecake flavor.
- Heavy cream (cold): Whipped separately, it makes the dip delightfully fluffy and light.
How to Make Homemade Red Velvet Brownie Dippers with Cheesecake Dip
Step 1: Prep Your Pan and Preheat the Oven
Start off strong by lining an 8×8-inch baking pan with parchment paper, making sure there’s some extra hanging over the sides. This handy trick guarantees your brownies will lift out in one beautiful piece. Preheat your oven to 350°F (175°C) so it’s ready when you are—no one likes waiting on dessert!
Step 2: Whisk Together the Brownie Base
In a mixing bowl, whisk together your melted butter and granulated sugar until smooth and glossy—this gets you that coveted shiny crust. Beat in the eggs, vanilla extract, the deep red food coloring, and a splash of white vinegar. Fully combining these wet ingredients ensures an even, gorgeous color and that signature red velvet tang.
Step 3: Add the Dry Ingredients
Now, sift in the unsweetened cocoa powder, all-purpose flour, and salt. Stir just until you don’t see any more streaks of flour. This is the secret to a tender, chewy brownie: don’t overmix! Pour the batter into your prepared pan and smooth the top so it bakes evenly.
Step 4: Bake and Cool
Slide the pan into your preheated oven and bake for 25 to 28 minutes. Watch for the edges to look set and a toothpick poked in the center comes out with a few moist crumbs—slightly underbaked is perfect for dippers. Let the brownies cool completely in the pan before you even think about slicing. For the sharpest cuts, pop the pan into the fridge for 30 minutes after cooling.
Step 5: Make the Cheesecake Dip
While the brownies cool, beat softened cream cheese with powdered sugar until it’s irresistibly smooth and fluffy. Mix in a little vanilla for warmth. In a separate bowl, whip the cold heavy cream until stiff peaks form; this keeps your dip stunningly light. Gently fold the whipped cream into the cream cheese base—resist the urge to stir too hard, you want to keep all that lovely airiness!
Step 6: Slice and Serve
Once fully cool (and ideally a bit chilled), lift your brownies from the pan. Slice them into even sticks or “dippers” for the ultimate dunking treat. Serve on a platter alongside that dreamy cheesecake dip, and prepare for applause!
How to Serve Homemade Red Velvet Brownie Dippers with Cheesecake Dip
Garnishes
Amp up the presentation with a sprinkle of mini chocolate chips, a dusting of powdered sugar, or even a few red velvet cake crumbs scattered over the dip. If you’re feeling decadent, drizzle the brownies with melted white chocolate for a little extra flair—it’s the small touches that make Homemade Red Velvet Brownie Dippers with Cheesecake Dip feel oh-so-special.
Side Dishes
Pairing is pure fun here! Set these dippers out with fresh strawberries, raspberries, or even sliced bananas for fruit fans. A mug of strong coffee, a frothy cappuccino, or vanilla milkshakes work beautifully on the side, creating a dessert experience that feels luxuriously complete.
Creative Ways to Present
Turn dessert into a party by arranging the dippers and dip in a “dessert board” style with bowls of berries and a handful of chocolate candies. For little ones, try serving the dip in small glasses with dippers standing tall inside. Or go fancy with mini shot glasses of dip and single dippers for a grab-and-go presentation—Homemade Red Velvet Brownie Dippers with Cheesecake Dip are endlessly adaptable!
Make Ahead and Storage
Storing Leftovers
If your crowd doesn’t finish every last bite (rare, but it happens!), simply store the brownies and the cheesecake dip in separate airtight containers in the fridge. The brownies will keep their tenderness for up to 4 days, while the dip remains fluffy and delicious for about 3 days.
Freezing
For longer storage, the brownies freeze beautifully. Wrap them tightly in plastic wrap and place them in a zip-top bag; they’ll stay fresh for up to 2 months. The dip is best made fresh, but if you must, freeze in an airtight container and thaw gently in the fridge, then whisk smooth before serving.
Reheating
To revive that just-baked edge, pop the brownies in a 300°F oven for about 5 minutes. Let them cool slightly before serving, then dunk away! The cheesecake dip should be served cold, straight from the fridge, for the most luscious texture.
FAQs
Can I double the recipe for a crowd?
Absolutely! Simply double all the ingredients and bake in a 9×13-inch pan. Just watch the edges and adjust baking time—it may need a few extra minutes, but Homemade Red Velvet Brownie Dippers with Cheesecake Dip scale up beautifully for parties.
What’s the best way to slice clean, neat dippers?
It’s all about chilling! Let your brownies cool completely, then refrigerate for at least 30 minutes before slicing with a sharp knife. Wipe the blade between cuts for perfectly sharp red velvet sticks.
Can I use a different food coloring or skip it?
Yes, you can use gel food coloring for a more intense shade, or skip the coloring entirely for delicious “chocolate brownie dippers with cheesecake dip.” They’ll still taste amazing, even if they aren’t bright red.
How do I make the cheesecake dip lighter or less sweet?
You can reduce the powdered sugar to taste or swap in Greek yogurt for part of the cream cheese for a tangier, lighter dip. Whipping the cream until fluffy and gently folding it keeps the dip airy and smooth.
Are these safe to leave at room temperature for parties?
Since the dip contains dairy, it’s best to keep it chilled and only leave out for up to 2 hours. For longer gatherings, nestle the dip bowl in a larger bowl of ice or refrigerate refills so Homemade Red Velvet Brownie Dippers with Cheesecake Dip stay safe and delicious.
Final Thoughts
If ever there was a dessert destined to steal the show, it’s Homemade Red Velvet Brownie Dippers with Cheesecake Dip. Whether you’re making memories with family, impressing guests, or treating yourself on a cozy night in, these dippers promise a little taste of celebration in every bite. I can’t wait for you to try them—your sweet tooth (and your friends) will thank you!
Print
Homemade Red Velvet Brownie Dippers with Cheesecake Dip Recipe
- Prep Time: 20 minutes
- Cook Time: 28 minutes
- Total Time: 48 minutes (plus cooling)
- Yield: 12 servings
- Category: Dessert
- Method: Baking
- Cuisine: American
- Diet: Vegetarian
Description
Indulge in these delightful Homemade Red Velvet Brownie Dippers with a creamy Cheesecake Dip, perfect for any gathering or sweet craving. The rich red velvet brownies paired with the velvety cheesecake dip make for a decadent treat that’s sure to impress.
Ingredients
For the red velvet brownies:
- ½ cup unsalted butter, melted
- 1 cup granulated sugar
- 2 large eggs
- 1 teaspoon vanilla extract
- 1 tablespoon red food coloring
- 1 teaspoon white vinegar
- ¼ cup unsweetened cocoa powder
- ¾ cup all-purpose flour
- ¼ teaspoon salt
For the cheesecake dip:
- 8 ounces cream cheese, softened
- ¼ cup powdered sugar
- 1 teaspoon vanilla extract
- ½ cup heavy cream (cold)
Instructions
- Prepare the red velvet brownies: Preheat oven to 350°F (175°C). Line an 8×8-inch baking pan with parchment paper. Mix melted butter and sugar. Add eggs, vanilla, food coloring, vinegar. Stir in cocoa powder, flour, salt. Bake for 25–28 minutes.
- Make the cheesecake dip: Beat cream cheese and powdered sugar until smooth. Add vanilla. Whip cold heavy cream until stiff peaks form, fold into cream cheese. Chill until serving.
Notes
- For firmer brownie dippers, refrigerate before slicing.
- Enhance with mini chocolate chips or cream cheese swirls in the batter.

