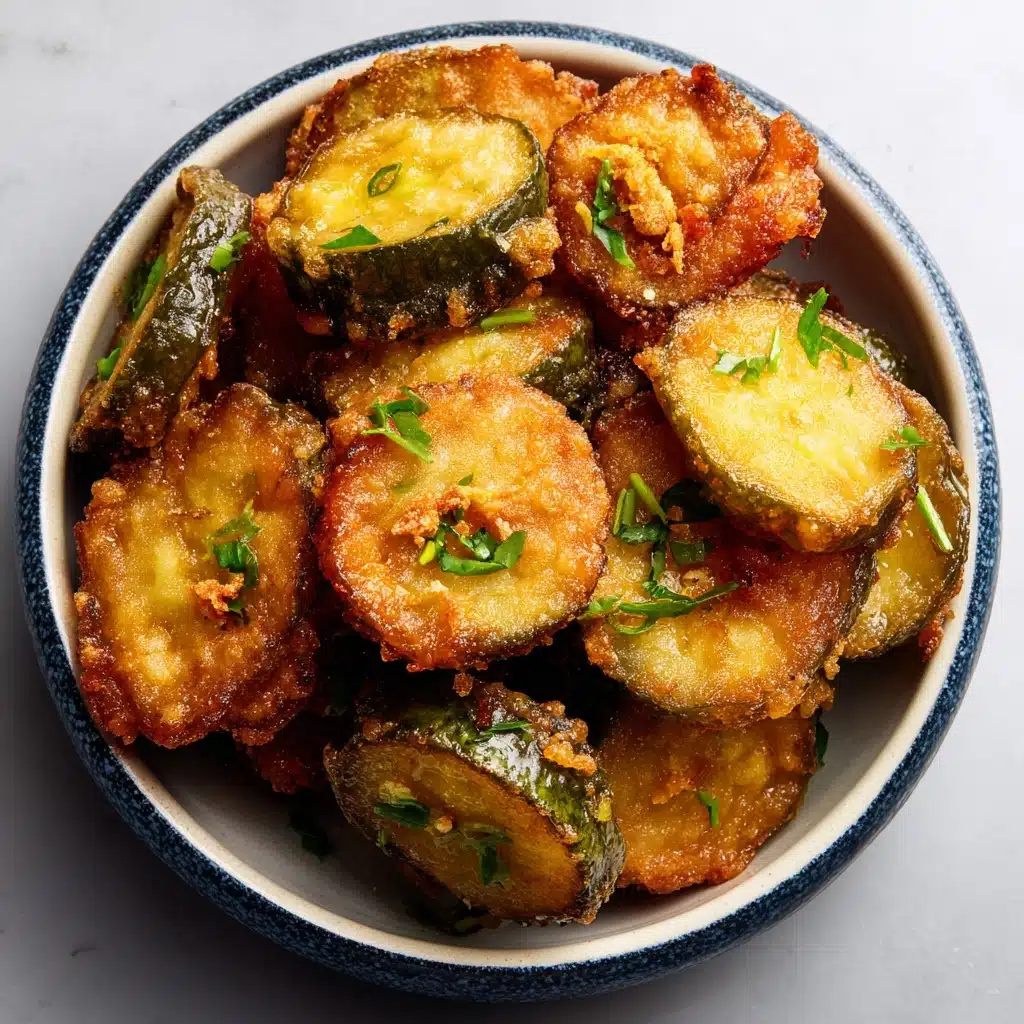
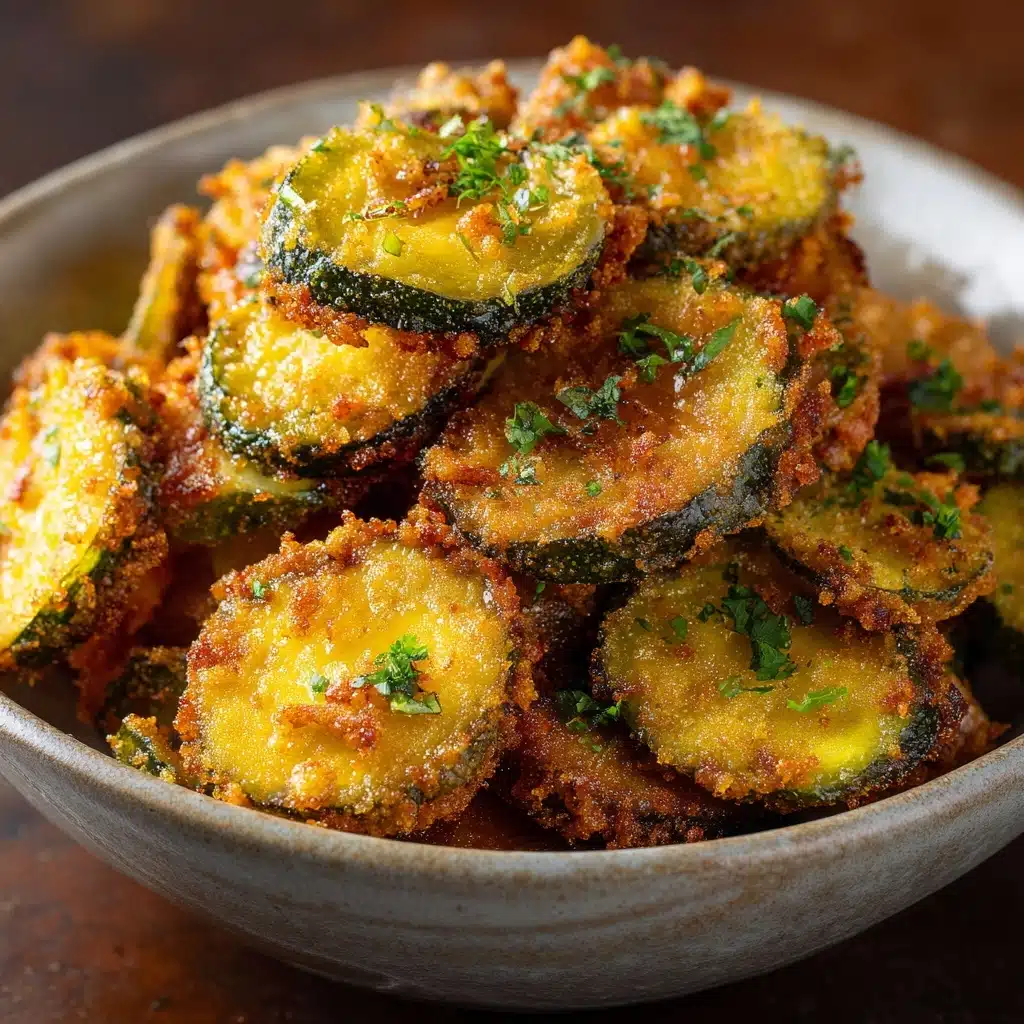
Welcome to your new favorite snack obsession — Cheesy Stuffed Fried Pickles. Imagine crisp dill pickles split and packed with a blend of creamy cheeses and a hint of spice, then coated in a golden breadcrumb shell and fried until gloriously crunchy. This is the ultimate comfort finger food, worthy of game nights, parties, or just when you need to satisfy a serious craving for something decadent and fun. If you’re looking to be the snack hero at your next gathering, this irresistible recipe is here to deliver.
Ingredients You’ll Need
Every ingredient in Cheesy Stuffed Fried Pickles plays a starring role — from the zesty pickles to the perfectly seasoned coating. These simple components come together easily, each one boosting flavor, crunch, or that signature gooey cheese pull in every bite.
- Dill Pickle Spears: Choose large, sturdy spears for easy stuffing and the best tangy contrast to the rich cheese.
- Cream Cheese (softened): Makes the cheesy filling ultra-creamy and holds the mixture together inside each pickle.
- Shredded Cheddar Cheese: Adds bold, melty goodness and a gorgeous orange color when you bite in.
- Garlic Powder: Lends mellow savoriness that perks up the cheesy center.
- Onion Powder: Boosts flavor depth for that unmistakably addictive taste.
- Smoked Paprika: Brings a subtle smokiness that balances the salt and tang of the pickles.
- Cayenne Pepper: Optional, but a little goes a long way for heat and excitement.
- All-Purpose Flour: Creates a dry surface so the egg and breadcrumbs actually stick.
- Large Eggs (beaten): Acts as the glue in the dredging process, helping the coating adhere and crisp up.
- Seasoned Breadcrumbs: A must for crunch — choose seasoned to save a step and amp up flavor.
- Vegetable Oil (for frying): Neutral oil that lets the cheesy stuffed fried pickles shine.
- Ranch Dressing or Spicy Mayo: The perfect dips, cooling or zippy, to finish off every bite.
How to Make Cheesy Stuffed Fried Pickles
Step 1: Prep the Pickles
Start by thoroughly drying your pickle spears with paper towels. This step is crucial! Any extra moisture can interfere with the dredging and make the pickles soggy instead of crispy. Once dry, use a small, sharp knife to cut a slit down each spear, being careful not to slice all the way through. This pocket is what you’ll fill with cheesy magic.
Step 2: Make the Cheesy Filling
In a mixing bowl, blend the softened cream cheese, shredded cheddar, garlic powder, onion powder, smoked paprika, and a pinch of cayenne pepper. Stir until completely smooth and everything is evenly combined. The mixture should be thick but spreadable so it sits happily inside each pickle pocket. Don’t be shy about tasting and adjusting the spice to your liking!
Step 3: Stuff the Pickles
Using a small spoon or even your fingers, gently stuff each pickle spear with a generous amount of the cheese mixture you just prepared. Press the sides of the pickle to close it up as best you can. A little cheese peeking out just means more flavor in the final bite, so don’t stress perfection.
Step 4: Set Up the Dredging Station
Grab three shallow bowls. Fill one with flour, one with the beaten eggs, and the last with seasoned breadcrumbs. The order matters: you’ll roll the stuffed pickles in flour first, then in eggs, and finally coat them with breadcrumbs. This triple layer makes the pickles ultra crunchy with a coating that holds together beautifully — no bare spots!
Step 5: Dredge the Pickles
One at a time, gently roll each stuffed pickle in flour, then dip it into the beaten eggs so it’s evenly coated, and finally press it into the breadcrumbs. For an extra thick crunch, go back into the egg and breadcrumbs a second time. Don’t rush — a good press in the breadcrumbs means the coating will stay on during frying.
Step 6: Fry to Golden Perfection
In a heavy skillet or deep pot, heat about two inches of vegetable oil to 350°F. When the oil is ready, carefully lower in the stuffed pickles in batches to avoid crowding the pan. Fry each for about 2 to 3 minutes per side, turning when the coating is deeply golden and crisp. Transfer them to a paper towel-lined plate to drain any excess oil. You’ll know they’re ready when they’re gorgeous, golden, and audibly crunchy.
Step 7: Serve with Dipping Sauce
Plate your Cheesy Stuffed Fried Pickles while still warm and serve right away, accompanied by cool ranch or zingy spicy mayo for dipping. Trust me, they absolutely disappear fast — so double the batch if you’re feeding a crowd!
How to Serve Cheesy Stuffed Fried Pickles
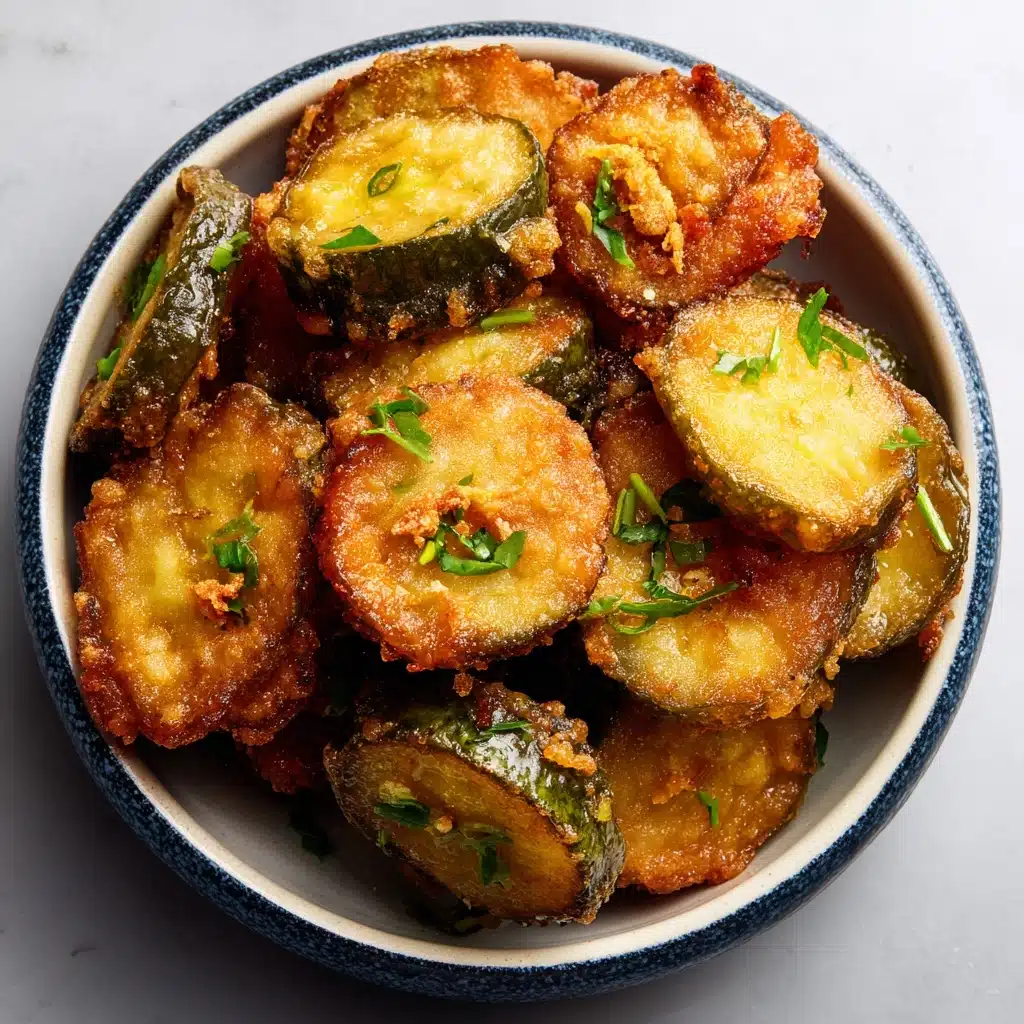
Garnishes
Add a sprinkle of fresh chopped chives, parsley, or dill on top just before serving for a burst of color and a fresh herby touch that balances the richness of Cheesy Stuffed Fried Pickles. A light dusting of smoked paprika can also ramp up that inviting color and hint at the flavors inside!
Side Dishes
These pickles love company! Serve them alongside crisp coleslaw, fresh veggie sticks, or a heaping plate of curly fries for a full-on party platter. They’re also fantastic with cold beer or a sparkling lemonade to cut through the richness and keep things lively.
Creative Ways to Present
Pile them high on a rustic wooden board for a family-style, hands-on snack spread, or skewer each pickle with a colorful cocktail pick for easy sharing at parties. They even make an unforgettable burger topper or can be sliced into bite-sized coins for a unique appetizer tray.
Make Ahead and Storage
Storing Leftovers
If you somehow have any left, store Cheesy Stuffed Fried Pickles in an airtight container in the refrigerator for up to two days. Crispness may fade a bit, but the flavor remains irresistible. Layer with parchment if stacking to avoid sogginess.
Freezing
For longer storage, freeze the pickles after breading but before frying. Lay them out on a lined baking sheet until solid, then transfer to a freezer bag. When craving strikes, fry directly from frozen — just add an extra minute or two to the cooking time for that same golden crunch.
Reheating
The very best way to revive leftover Cheesy Stuffed Fried Pickles is in an air fryer or a hot oven, bringing back their crunchy texture in just a few minutes. Avoid the microwave, as it can make the breading soggy. Aim for 375°F until heated through and crispy again.
FAQs
Can I use other types of pickles?
Absolutely! While classic dill spears work perfectly, you can experiment with spicy pickles, bread-and-butter spears, or even sliced rounds for bite-size treats. Just stick with sturdy pickles that can hold up to stuffing and frying.
What kind of cheese works best?
A mix of cream cheese and sharp cheddar is classic for Cheesy Stuffed Fried Pickles, but feel free to try pepper jack for extra kick, or mozzarella for extra stretchy cheese pulls. Just aim for a well-melting cheese to keep that center oozy.
Can I make these gluten free?
Definitely! Simply swap all-purpose flour for a gluten-free blend and use certified gluten-free breadcrumbs. Everything else remains the same, and you’ll still get that crunch plus all the cheesy goodness.
Do I need a deep fryer?
Not at all. A heavy skillet or Dutch oven with a couple inches of hot oil works great. Just keep an eye on the oil temperature for even, golden frying every time.
Can I bake these instead of frying?
Yes, you can bake Cheesy Stuffed Fried Pickles on a wire rack at 425°F until golden and crisp, usually about 12–15 minutes. The coating won’t be quite as crunchy as frying, but they’ll still be delicious and a little lighter.
Final Thoughts
When you’re craving a snack that’s a surefire crowd-pleaser, Cheesy Stuffed Fried Pickles bring all the fun, flavor, and crunch you could wish for. Try them for your next get-together or just because — and don’t be surprised when everyone asks for your secret recipe!
Print
Cheesy Stuffed Fried Pickles Recipe
- Prep Time: 20 minutes
- Cook Time: 10 minutes
- Total Time: 30 minutes
- Yield: 6 servings
- Category: Appetizer
- Method: Frying
- Cuisine: American
- Diet: Vegetarian
Description
These Cheesy Stuffed Fried Pickles are a delicious twist on the classic fried pickle recipe. Tangy dill pickle spears are filled with a creamy cheddar cheese mixture, coated in crispy breadcrumbs, and fried to golden perfection. Perfect for parties or game day snacks!
Ingredients
Cheesy Filling:
- 12 large dill pickle spears
- 4 ounces cream cheese, softened
- 1 cup shredded cheddar cheese
- 1/2 teaspoon garlic powder
- 1/2 teaspoon onion powder
- 1/2 teaspoon smoked paprika
- 1/4 teaspoon cayenne pepper
Coating and Frying:
- 1 cup all-purpose flour
- 2 large eggs, beaten
- 1 1/2 cups seasoned breadcrumbs
- Vegetable oil for frying
- Ranch dressing or spicy mayo for dipping
Instructions
- Prepare Pickles: Pat pickle spears dry, cut a slit, and stuff with cheese mixture.
- Dredge Pickles: Roll in flour, dip in egg, coat with breadcrumbs.
- Fry Pickles: Heat oil to 350°F, fry pickles until golden brown and crispy.
- Drain and Serve: Transfer to a paper towel-lined plate, serve warm with dipping sauce.
Notes
- For extra crunch, double-coat the pickles before frying.
- Best served immediately but can be reheated in an air fryer for a crisp texture.

