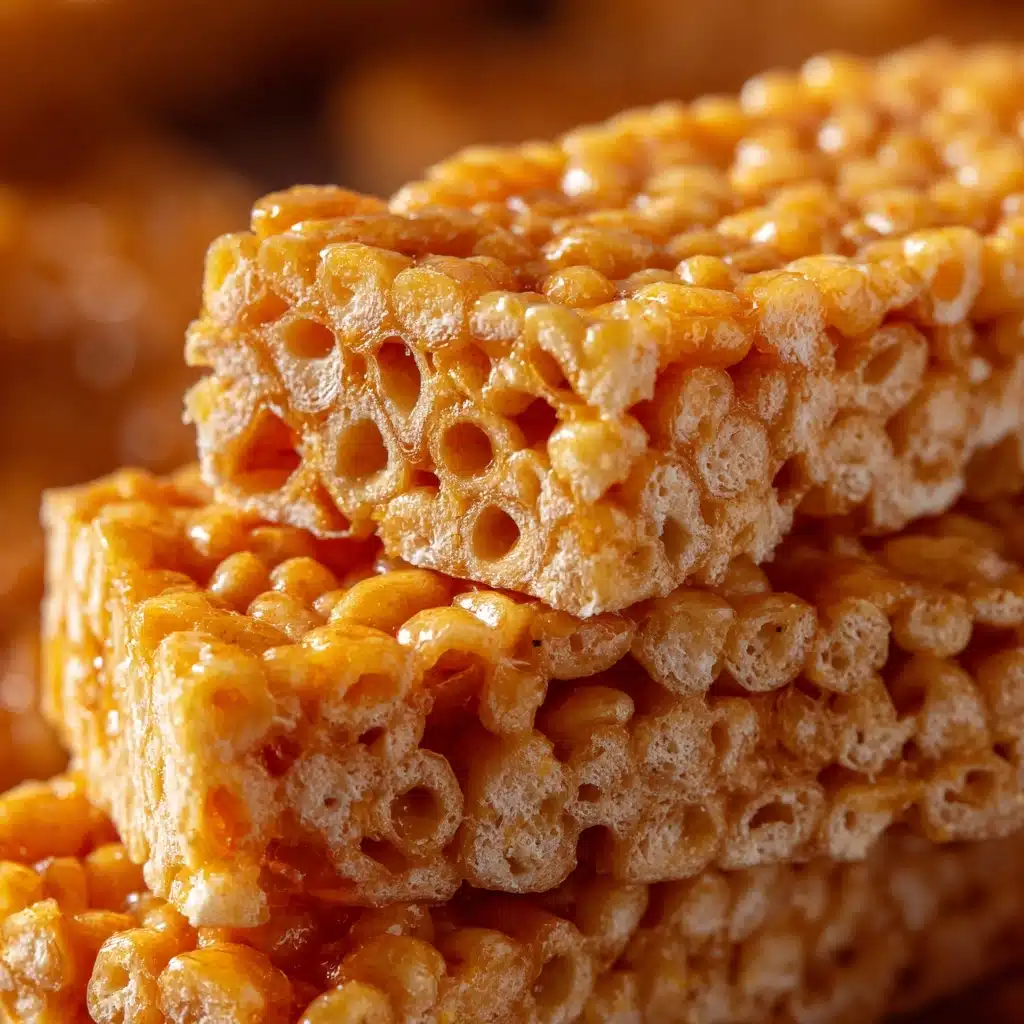
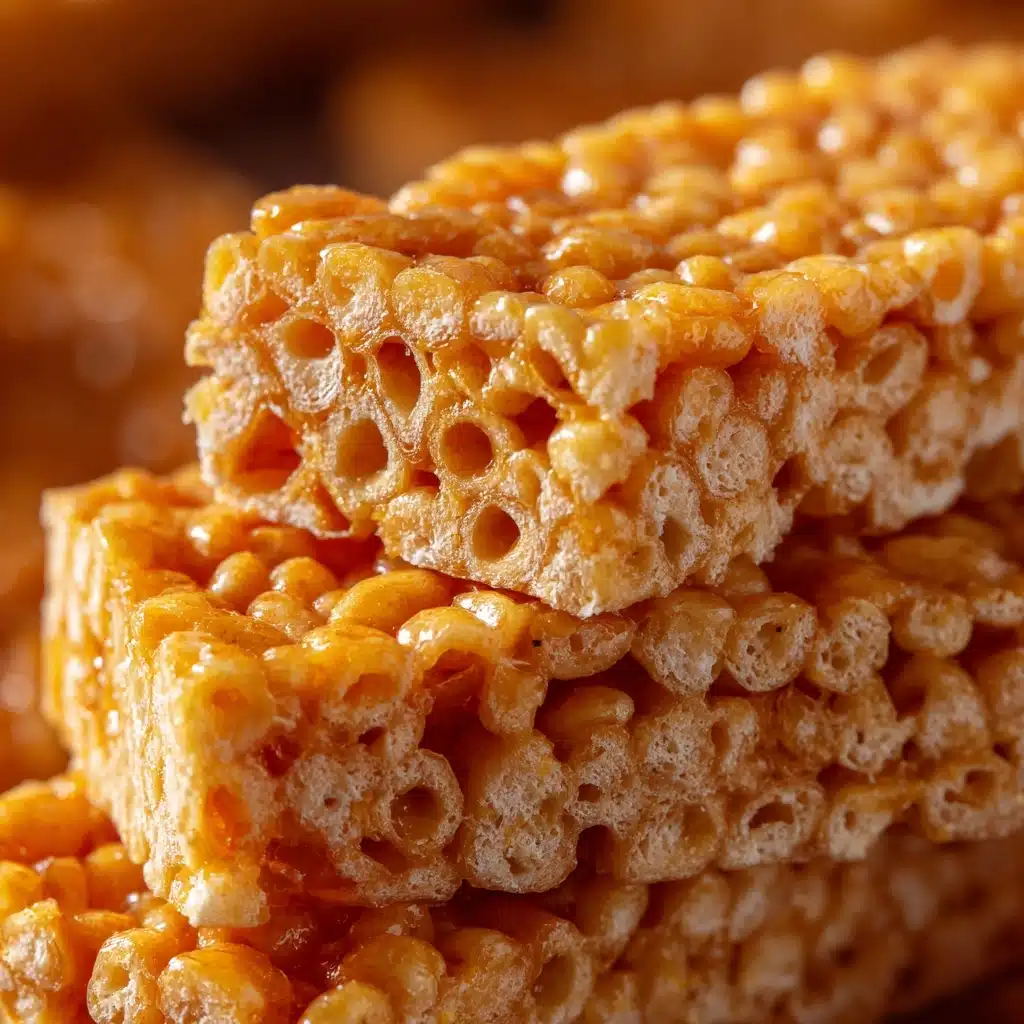
Get ready to fall head-over-heels for Peanut Butter Rice Krispie Treats! Imagine the classic, chewy crisp rice bars you loved as a kid, now amped up with creamy peanut butter and just a hint of vanilla. This nostalgic, no-bake treat is an irresistible combination of gooey marshmallows, satisfyingly crispy texture, and a rich, nutty flavor—all topped (if you wish) with a swirl of decadent chocolate. Whether you’re craving an after-school snack, a simple potluck dessert, or a sweet bite with your coffee, Peanut Butter Rice Krispie Treats are the ultimate answer!
Ingredients You’ll Need
Making these treats is delightfully simple, but each ingredient brings its own magic to the mix. Together, they create a snack that’s perfectly sweet, lusciously chewy, and gently kissed with peanut butter goodness. Don’t skip any of these; every element has its place!
- Unsalted butter: Creates a rich, buttery foundation and keeps everything moist and flavorful.
- Creamy peanut butter: Delivers a dreamy, nutty richness that elevates the treats from childhood classic to adult favorite.
- Mini marshmallows: The secret to that signature soft, chewy texture, plus a gentle vanilla sweetness.
- Rice Krispies cereal: Adds crispiness and gives the treats their iconic airy crunch.
- Vanilla extract: Subtly enhances all the other flavors for next-level results.
- Optional chocolate chips or drizzle: For those moments when you want a little chocolate flair to complement the peanut butter goodness.
How to Make Peanut Butter Rice Krispie Treats
Step 1: Melt the Butter and Peanut Butter
Grab your biggest saucepan and set it over medium heat. Toss in the unsalted butter and creamy peanut butter, stirring them together as they melt into one gorgeously smooth mixture. This step is where the flavor foundation is set, so don’t rush—let the peanut butter fragrance fill your kitchen!
Step 2: Add and Melt the Marshmallows
Pour in the mini marshmallows and keep stirring. It takes a few minutes for them to melt and meld completely with the peanut butter and butter, but as soon as everything is silky smooth, you know you’re headed for treat perfection.
Step 3: Stir in the Vanilla Extract
Once everything is melted and glossy, remove the pan from heat and splash in the vanilla extract. This adds a background note of warmth that makes a big difference in the final flavor, even if you can’t put your finger on why it’s so good.
Step 4: Fold in the Rice Krispies Cereal
Now, working quickly, pour in all the Rice Krispies cereal. Use a sturdy spatula or wooden spoon to fold and turn until each piece of cereal is coated in that sticky, marshmallowy, peanut-buttery blanket. This step has to move fast so everything sets evenly!
Step 5: Press into a Pan and Top with Chocolate
Immediately transfer the mixture to a greased or parchment-lined 9×13-inch baking dish. Gently press it down with a spatula or (my favorite!) lightly buttered hands for a smooth, compact finish. While the treats are still warm, sprinkle on chocolate chips—or, if you prefer, wait for them to cool and drizzle with melted chocolate for that eye-catching finish.
Step 6: Let Cool and Slice
Patience is tough, but give your Peanut Butter Rice Krispie Treats at least 30 minutes to cool at room temperature before cutting into squares. For a firmer, chewier texture, pop them into the fridge for 15–20 minutes. Then slice into 24 perfect portions and get ready to dig in!
How to Serve Peanut Butter Rice Krispie Treats
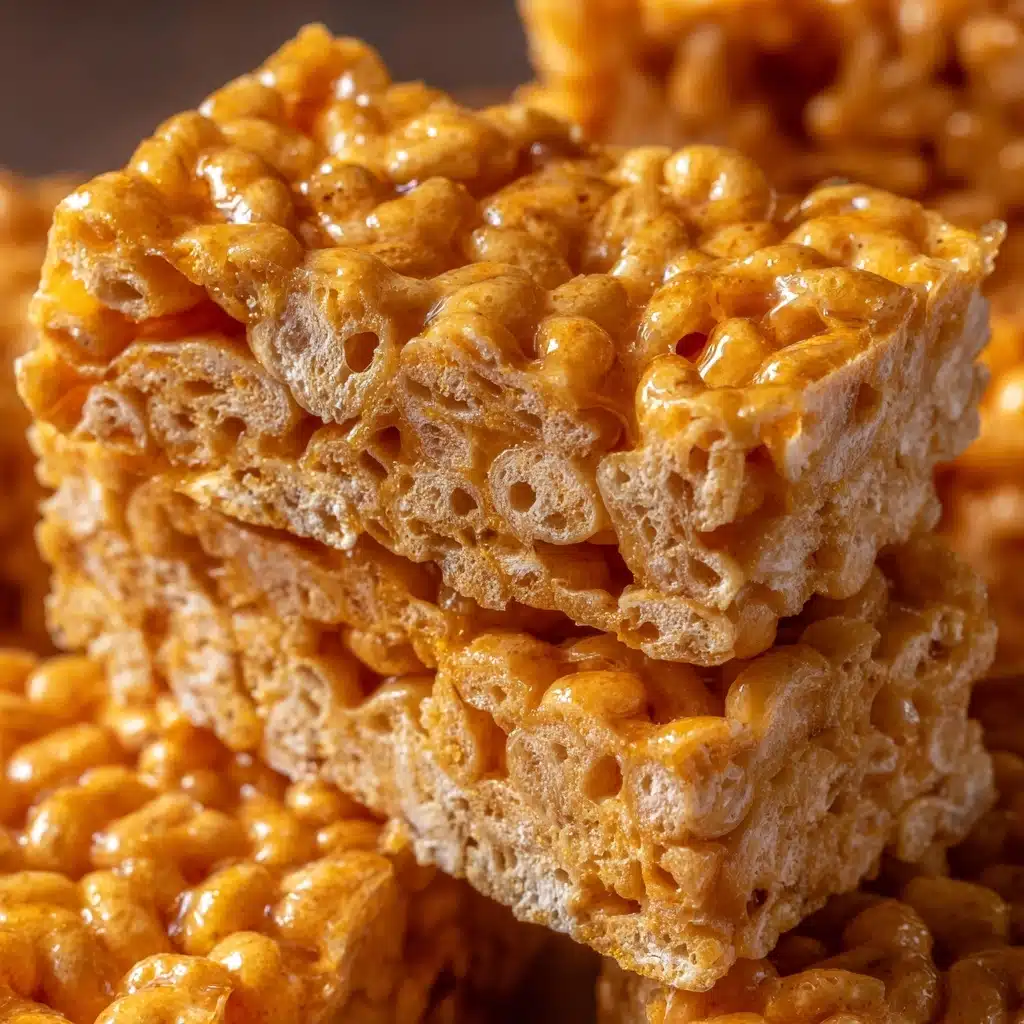
Garnishes
A simple sprinkle of flaky sea salt over the chocolate takes these over the top, giving you that salty-sweet bite everyone loves. Or, if you want to play up the peanut butter flavor, scatter a handful of roasted, chopped peanuts before the chocolate sets. Even a dusting of powdered sugar can add that extra-special finishing touch!
Side Dishes
These treats pair perfectly with a tall glass of cold milk, a cup of strong coffee, or even a refreshing lemonade. For kids’ parties, serve them alongside fruit skewers or small bowls of berries for a colorful, festive snack platter. Their versatility makes them fit right in, wherever you serve them.
Creative Ways to Present
Try cutting Peanut Butter Rice Krispie Treats into fun shapes using cookie cutters, or layering the squares with a thin layer of chocolate between them for a “treat sandwich.” Stack them high on a colorful platter for parties, or wrap individual squares in parchment and tie with twine for adorable lunchbox surprises. Want a holiday twist? Top with seasonal sprinkles or edible glitter!
Make Ahead and Storage
Storing Leftovers
Store any remaining Peanut Butter Rice Krispie Treats tightly covered at room temperature for up to 3 days. They stay soft and fresh in an airtight container—no need to refrigerate (unless you like them extra chewy).
Freezing
If you want to enjoy these treats later, go ahead and freeze them! Layer the cut squares with parchment paper in an airtight container or freezer bag. They’ll keep beautifully for up to 2 months. Just thaw them at room temperature when you’re ready for a peanut butter pick-me-up.
Reheating
Generally, Peanut Butter Rice Krispie Treats are perfect as-is, but if you want them a bit softer, microwave a square for just 5–10 seconds. This gently revives the marshmallow texture and brings back a little of that gooey, just-made magic.
FAQs
Can I use crunchy peanut butter instead of creamy?
Absolutely! Crunchy peanut butter adds a delightful bit of extra texture and some salty peanut bits in every bite. If you love a little crunch, swap it in without changing anything else.
Are these treats gluten-free?
If you use certified gluten-free Rice Krispies cereal, then yes, Peanut Butter Rice Krispie Treats are naturally gluten-free and perfect for those avoiding gluten. Just check your labels to be certain.
Can I double this recipe for a party or bake sale?
Definitely! Just use a larger pot for melting and a bigger pan or two regular pans for setting. The treat mixture firms up quickly, so prepare your pans before you start mixing.
Why are my treats too hard or too soft?
If your treats end up too hard, you may have pressed them into the pan with too much force or boiled the marshmallow mixture for a bit too long. For softer bars, be gentle when pressing and remove the melted mixture from the heat as soon as it’s smooth.
Can I add other mix-ins?
Of course! Mini chocolate candies, chopped dried fruit, or bits of toffee are all delicious additions. Just fold them in quickly with the cereal so they get evenly distributed before the mixture sets.
Final Thoughts
There’s something special about sharing Peanut Butter Rice Krispie Treats—whether it’s with your kids, your best friends, or just as a little pick-me-up for yourself. With their effortless prep and unbeatable combination of chewy, crispy, and nutty-sweet, these bars are sure to become a new favorite in your dessert rotation. You’ve simply got to give them a try!
Print
Peanut Butter Rice Krispie Treats Recipe
- Prep Time: 10 minutes
- Cook Time: 5 minutes
- Total Time: 15 minutes (plus cooling)
- Yield: 24 squares
- Category: Dessert
- Method: No-Bake
- Cuisine: American
- Diet: Vegetarian, Gluten-Free
Description
These Peanut Butter Rice Krispie Treats are a classic no-bake dessert that combines the sweet, gooey goodness of marshmallows with the rich flavor of peanut butter. Easy to make and perfect for satisfying your sweet tooth!
Ingredients
Ingredients:
- ¼ cup unsalted butter
- ½ cup creamy peanut butter
- 1 bag (10 oz) mini marshmallows
- 6 cups Rice Krispies cereal
- ½ teaspoon vanilla extract
- optional: ½ cup chocolate chips or drizzle for topping
Instructions
- Melt the Butter and Peanut Butter: In a large saucepan over medium heat, melt the butter and peanut butter together until smooth.
- Add Marshmallows: Add the mini marshmallows and stir continuously until completely melted and the mixture is smooth.
- Stir in Vanilla: Remove from heat and stir in the vanilla extract.
- Add Cereal: Quickly fold in the Rice Krispies cereal, mixing until evenly coated.
- Press into Pan: Press the mixture into a greased or parchment-lined 9×13-inch baking dish.
- Add Toppings: If using, sprinkle chocolate chips on top while still warm, or drizzle with melted chocolate once cooled.
- Let Set: Let set at room temperature for about 30 minutes before cutting into squares.
Notes
- For a firmer texture, chill the treats in the fridge for 15–20 minutes before slicing.
- Use crunchy peanut butter for added texture or mix in chopped peanuts for a salty-sweet bite.

