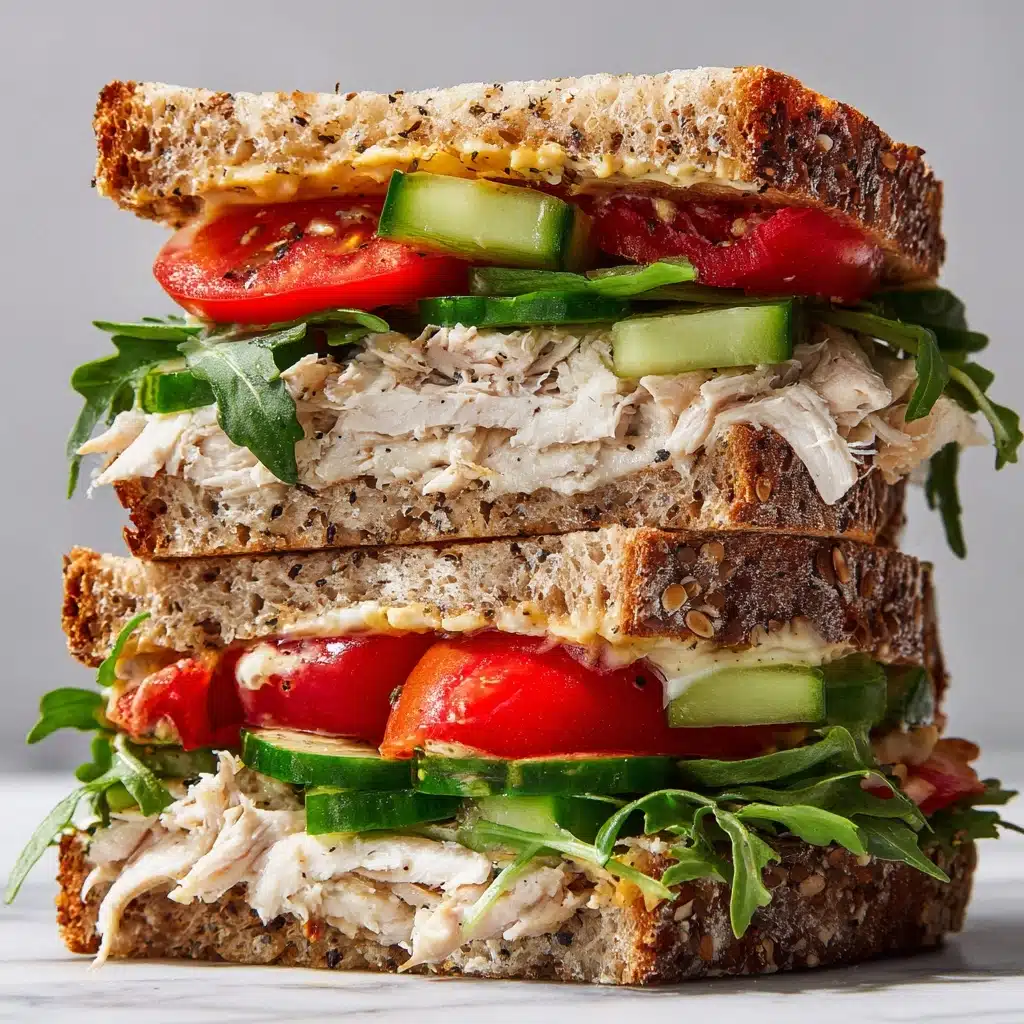
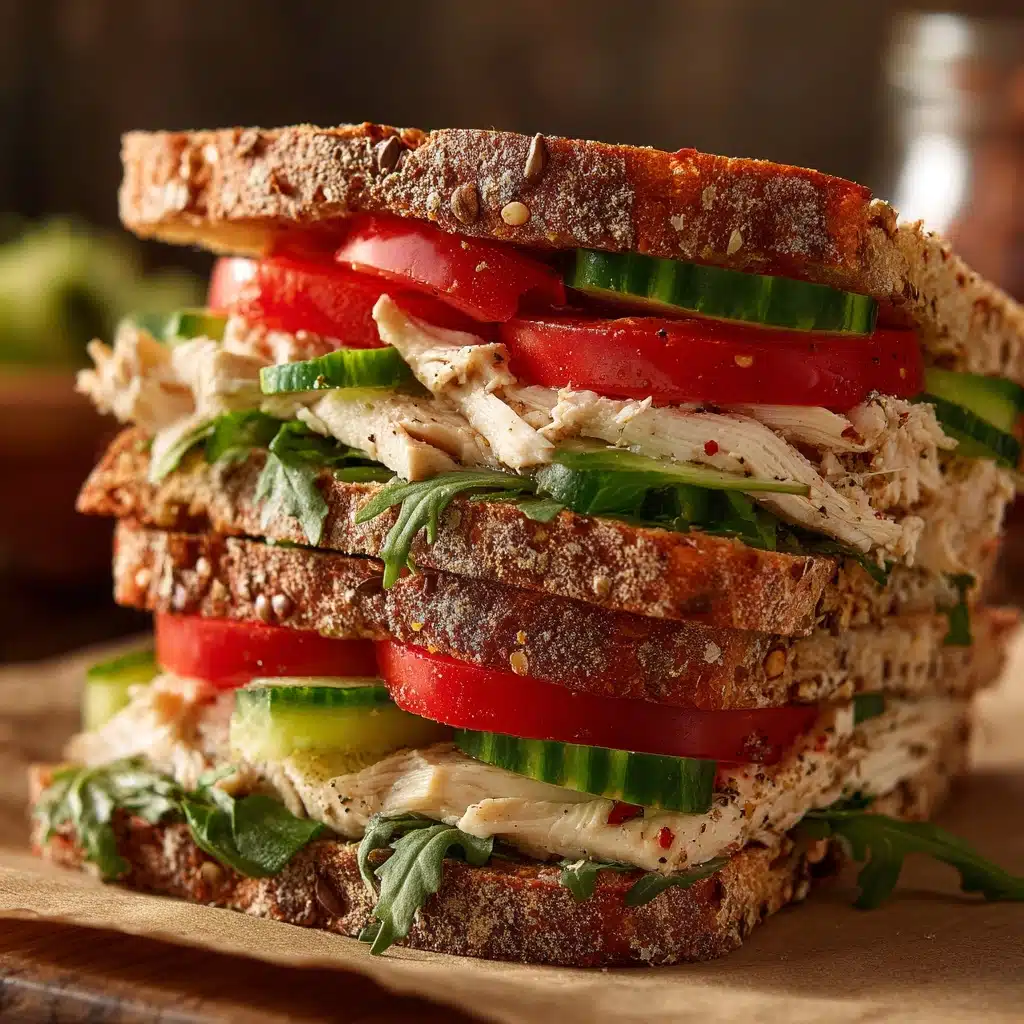
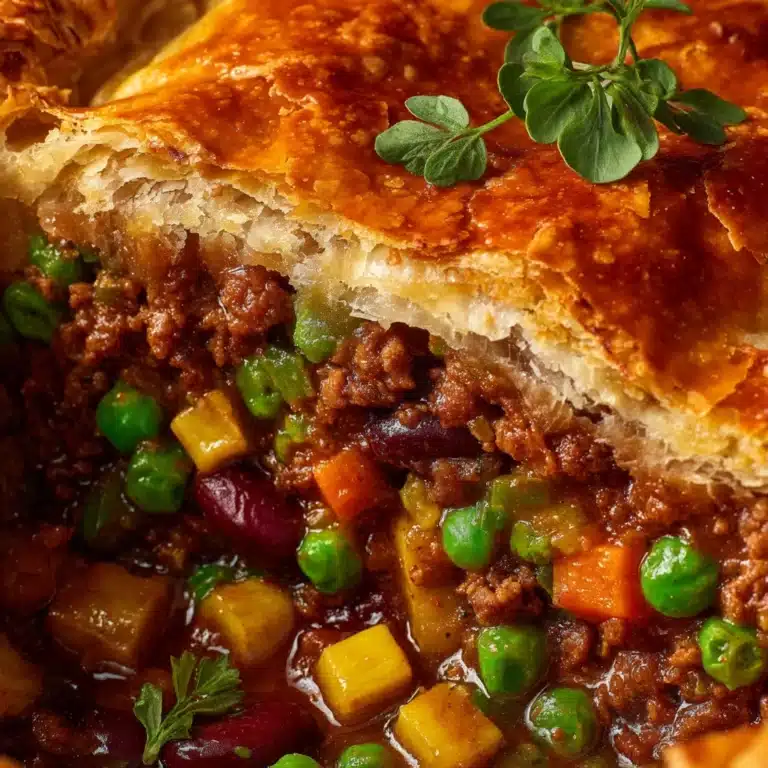
If you’re craving comfort food that’s ready in less than 20 minutes, the Easy Tuna Melt is about to become your new go-to. Crispy golden bread, melty cheese, and a creamy, savory tuna filling make this sandwich irresistible every single time. Whether you’re reminiscing about childhood lunches or just need something quick and satisfying, this recipe serves up both nostalgia and flavor with absolutely minimal effort.
Ingredients You’ll Need
Part of the magic behind the Easy Tuna Melt is just how simple and staple-friendly the ingredient list is. Each component shines, balancing flavors and textures for that signature, crave-worthy result. Here’s what you’ll need and why each one matters:
- Tuna: Opt for two cans of tuna in water, drained well; this forms the savory base and packed-with-protein filling.
- Mayonnaise: About ¼ cup brings creaminess to the tuna salad and helps everything bind together.
- Dijon Mustard (optional): Just a tablespoon for tanginess and a subtle depth that makes flavors pop.
- Finely Chopped Red or Green Onion: Adds a welcome sharpness and crunch—don’t skip it unless you must!
- Sweet Relish or Chopped Pickles: This delivers a hit of sweetness and a little vinegary zing, making every bite addictive.
- Salt and Black Pepper: For balancing the flavors; season to your personal taste.
- Sandwich Bread: Four slices of your favorite bread provide the golden, crunchy exterior.
- Tomato Slices (optional): Layer on for color, juiciness, and extra sandwich appeal.
- Cheddar or Swiss Cheese: Choose four slices—cheddar for classic richness or Swiss for nutty smooth meltiness.
- Butter: You just need a tablespoon for that delicious, crispy grilled finish.
How to Make Easy Tuna Melt
Step 1: Mix the Tuna Salad
Begin by grabbing a medium mixing bowl and adding your drained tuna, mayonnaise, Dijon mustard, chopped onion, relish, salt, and pepper. Stir everything together until it’s well combined and creamy. The mayo keeps things smooth, while the mustard and relish boost the brightness. Taste and tweak the seasoning if you’d like—you’re the chef here!
Step 2: Assemble the Sandwiches
Lay out your four slices of bread on a clean surface. Divide the tuna salad evenly between two slices, spreading it all the way to the edges for perfect coverage. If you love a juicy burst, top each with a generous slice of tomato. Next, crown each mound of tuna with one or two slices of cheese, making sure every corner will be covered in melty goodness, then close them up with the remaining bread slices.
Step 3: Grill to Crispy, Gooey Perfection
Set a skillet or nonstick pan over medium heat and melt your butter. Gently place each sandwich in the skillet and press down lightly with a spatula. Cook for 3–4 minutes per side, turning carefully, until the bread is beautifully golden and the cheese has turned perfectly oozy. Patience pays off here—low and slow gives the best crunch!
Step 4: Slice and Serve
Once your Easy Tuna Melt sandwiches are crisp and melty, transfer them to a cutting board. Slice each in half (diagonal cuts make for the prettiest presentation) and serve them up while they’re still warm and gooey inside.
How to Serve Easy Tuna Melt
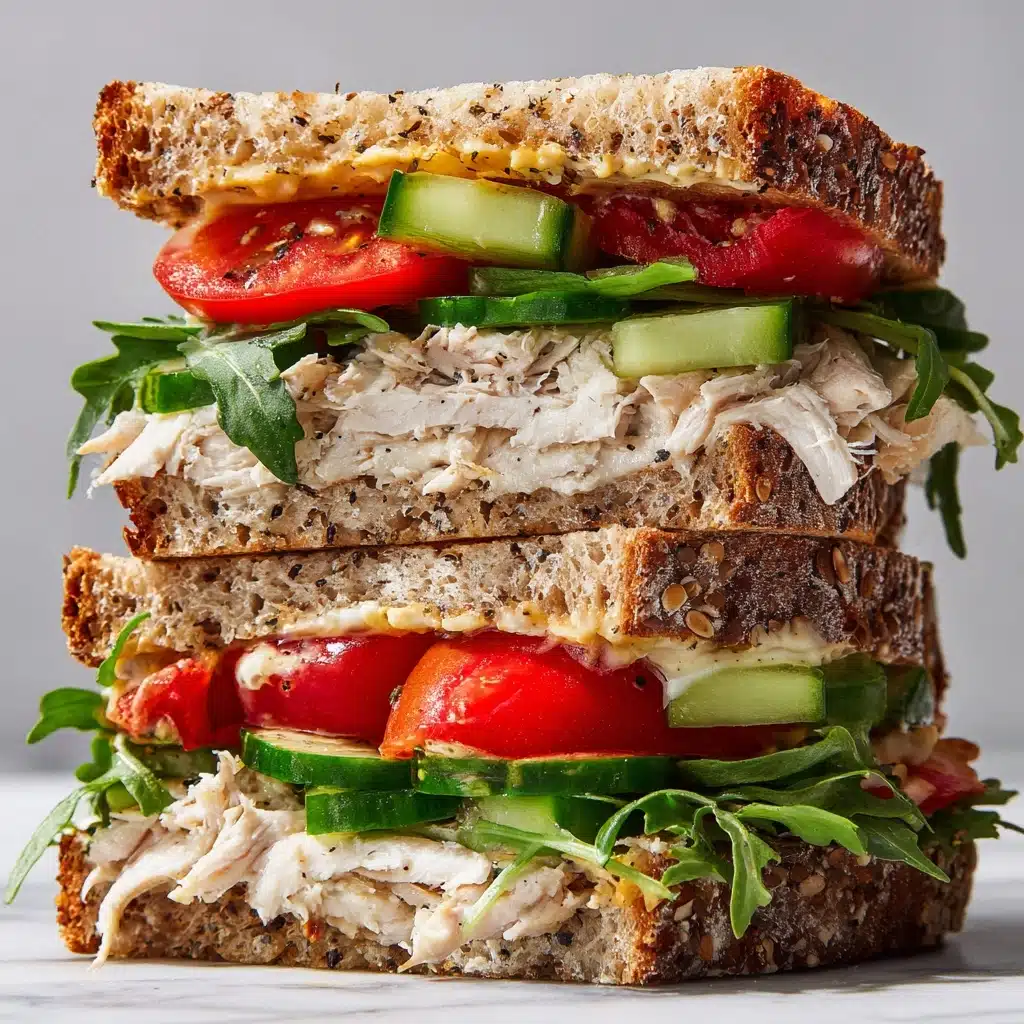
Garnishes
Sprinkle a few chopped chives or fresh parsley over the top for a burst of color and a faint, herby aroma. A pinch of cracked black pepper looks elegant, too. And if you like a little zip, serve with a side of spicy mustard or a couple of pickle spears. Each tiny tweak gives a personal touch to your Easy Tuna Melt, turning simple into spectacular.
Side Dishes
This sandwich pairs like a dream with crispy potato chips, a handful of cut veggies, or even a fresh green salad. For something extra comforting, try it alongside a cup of tomato soup or a small bowl of coleslaw—the creamy and crunchy combo can’t be beat.
Creative Ways to Present
Instead of regular sandwich bread, try serving your Easy Tuna Melt open-faced on toasted English muffins or bagels for brunch vibes. For parties, cut each sandwich into bite-sized squares and skewer with toothpicks. The melty, savory goodness translates beautifully into snacks or lunchbox treats—don’t be afraid to play around!
Make Ahead and Storage
Storing Leftovers
If you find yourself with leftover Easy Tuna Melt, let the sandwich cool completely and then wrap it tightly in foil or place it in an airtight container. Store in the refrigerator for up to 2 days. This will keep the flavors fresh, but the bread may lose a little of its original crispness—which reheating can help restore.
Freezing
Freezing assembled Easy Tuna Melt sandwiches isn’t recommended, as the bread can become soggy. Instead, you can make the tuna salad filling ahead, store it in a covered container in the fridge for up to 3 days, and quickly build fresh sandwiches when the craving hits!
Reheating
For best results, reheat your sandwich in a skillet over medium-low heat, pressing gently until warm and the bread crisps up again. Alternatively, you can pop it in a toaster oven or conventional oven at 350°F (175°C) for about 10 minutes. The microwave is quick but often makes the bread soft instead of crunchy.
FAQs
What kind of tuna is best for Easy Tuna Melt?
Chunk light or solid white tuna in water both work well; just drain thoroughly to prevent sogginess. Tuna in oil is fine too, but you may want to use a bit less mayo.
Can I make this recipe gluten-free?
Absolutely! Just swap in your favorite gluten-free bread, and make sure your relish, pickles, and other condiments are gluten-free as well. Everything else in the Easy Tuna Melt should work perfectly for a gluten-free diet.
Is there a way to make this lower in calories?
You can lighten things up by using low-fat mayonnaise, part-skim cheese, and whole grain or light bread. Skipping the butter in the pan and toasting the sandwich under a broiler is a great low-cal alternative, too.
What other mix-ins can I add to the tuna?
Feel free to get creative! Diced celery, chopped bell peppers, a sprinkle of dill, or a dash of hot sauce can all give your Easy Tuna Melt a personal twist. It’s a versatile blank canvas for your cravings.
Can I prepare these as open-faced melts?
Definitely! Spread the tuna mixture on toasted bread, pile on the cheese, and slide them under the broiler until bubbly and golden. These make fantastic appetizers or a quick lunch that’s a little lighter but just as satisfying.
Final Thoughts
There’s something endlessly satisfying about an Easy Tuna Melt—crispy outside, gooey inside, and always packed with flavor. It’s the kind of recipe you’ll find yourself turning to on busy days, lazy weekends, or anytime you want a hug in sandwich form. Give it a try soon, and you just might find it becomes your new comfort classic, too!
Print
Easy Tuna Melt Recipe
- Prep Time: 10 minutes
- Cook Time: 8 minutes
- Total Time: 18 minutes
- Yield: 2 sandwiches
- Category: Main Course
- Method: Stovetop
- Cuisine: American
- Diet: Non-Vegetarian
Description
This Easy Tuna Melt recipe is a classic lunch favorite that’s quick to make and satisfying to eat. With a delicious tuna salad filling and melty cheese, it’s perfect for a cozy meal.
Ingredients
Tuna Salad:
- 2 (5 oz) cans tuna in water, drained
- 1/4 cup mayonnaise
- 1 tbsp Dijon mustard (optional)
- 1 tbsp finely chopped red onion or green onion
- 1 tbsp sweet relish or chopped pickles
- Salt and black pepper to taste
Assembly:
- 4 slices sandwich bread
- 4 slices tomato (optional)
- 4 slices cheddar or Swiss cheese
- 1 tbsp butter for grilling
Instructions
- Tuna Salad: In a bowl, mix together the drained tuna, mayonnaise, mustard (if using), chopped onion, relish, salt, and pepper until well combined.
- Assembly: Lay out the bread slices and evenly divide the tuna mixture onto two slices. Top each with a tomato slice (if using) and one or two slices of cheese. Cover with the remaining bread slices to make sandwiches.
- Cooking: Melt butter in a skillet over medium heat. Place the sandwiches in the skillet and cook for 3–4 minutes per side, pressing down gently with a spatula, until the bread is golden brown and the cheese is melted. Slice and serve warm.
Notes
- For a crispier version, toast the bread before assembling and finish under a broiler.
- You can also use an English muffin, bagel, or sourdough bread as a base.

